9.6 THE SETUP MENU
9. PATTERNS, KITS AND PRESETS > 9.6 THE SETUP MENU · PDF p. 35–39 · OS 1.12
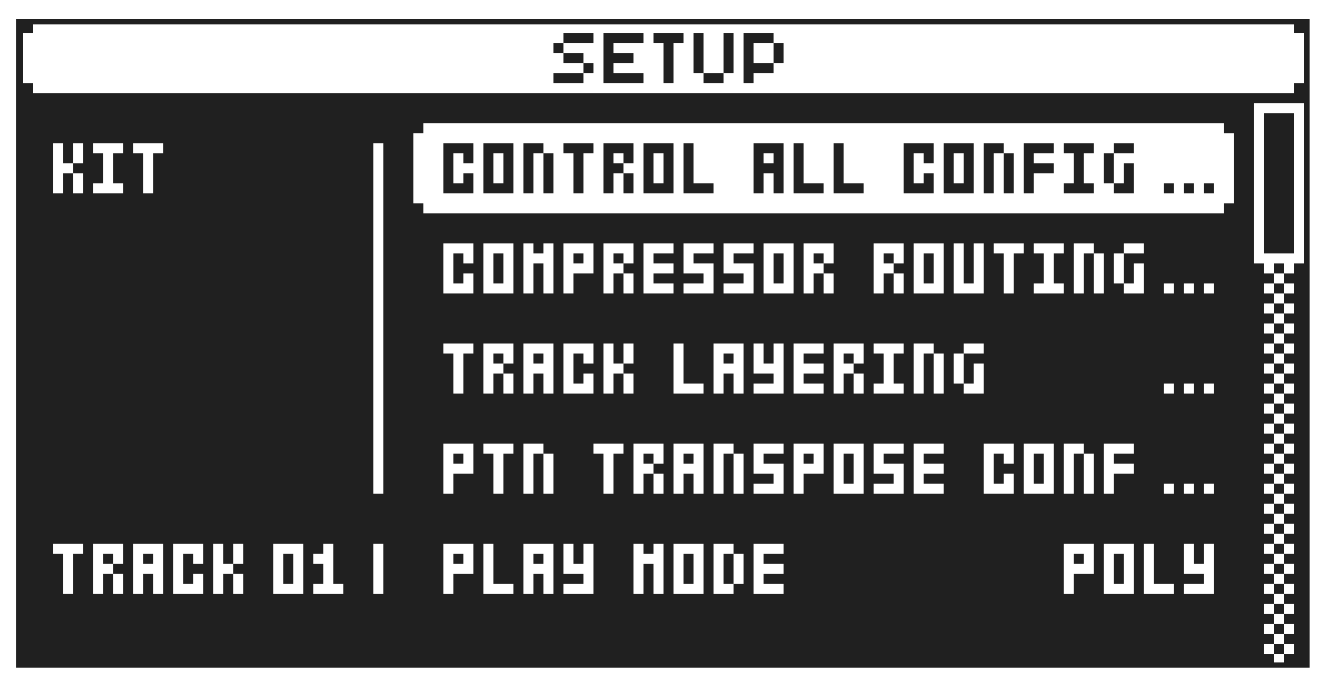
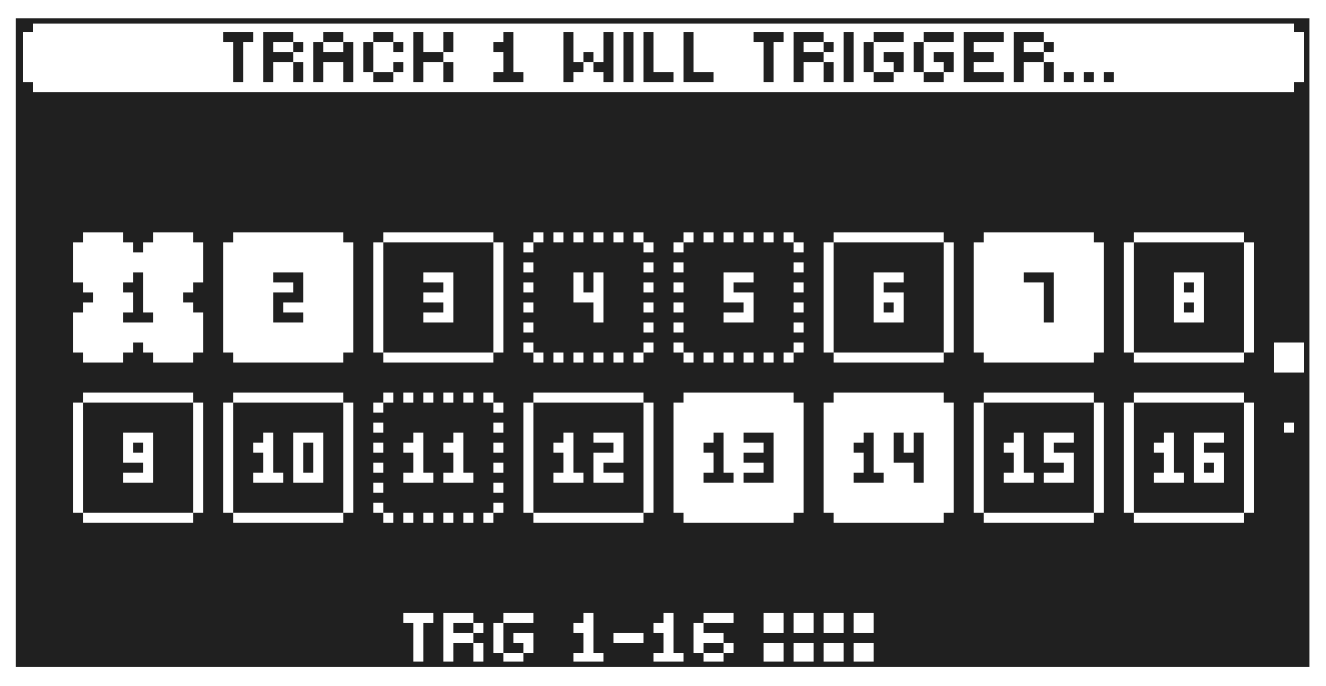
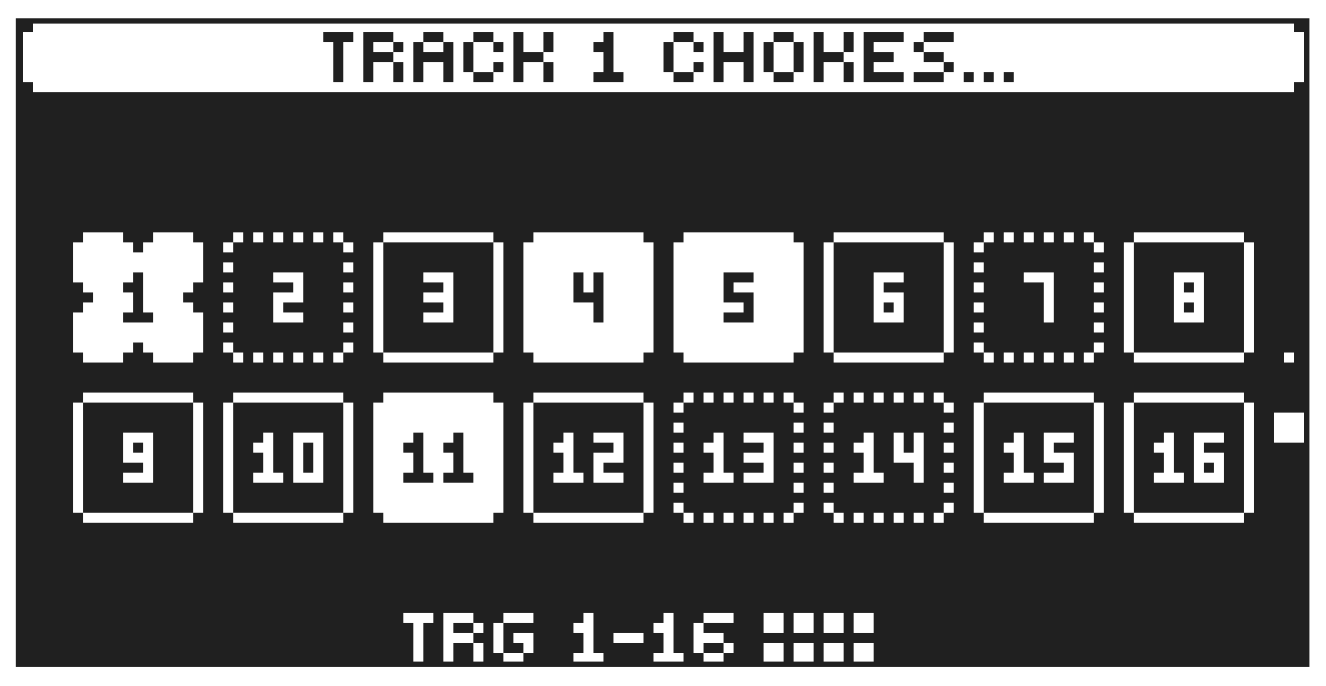
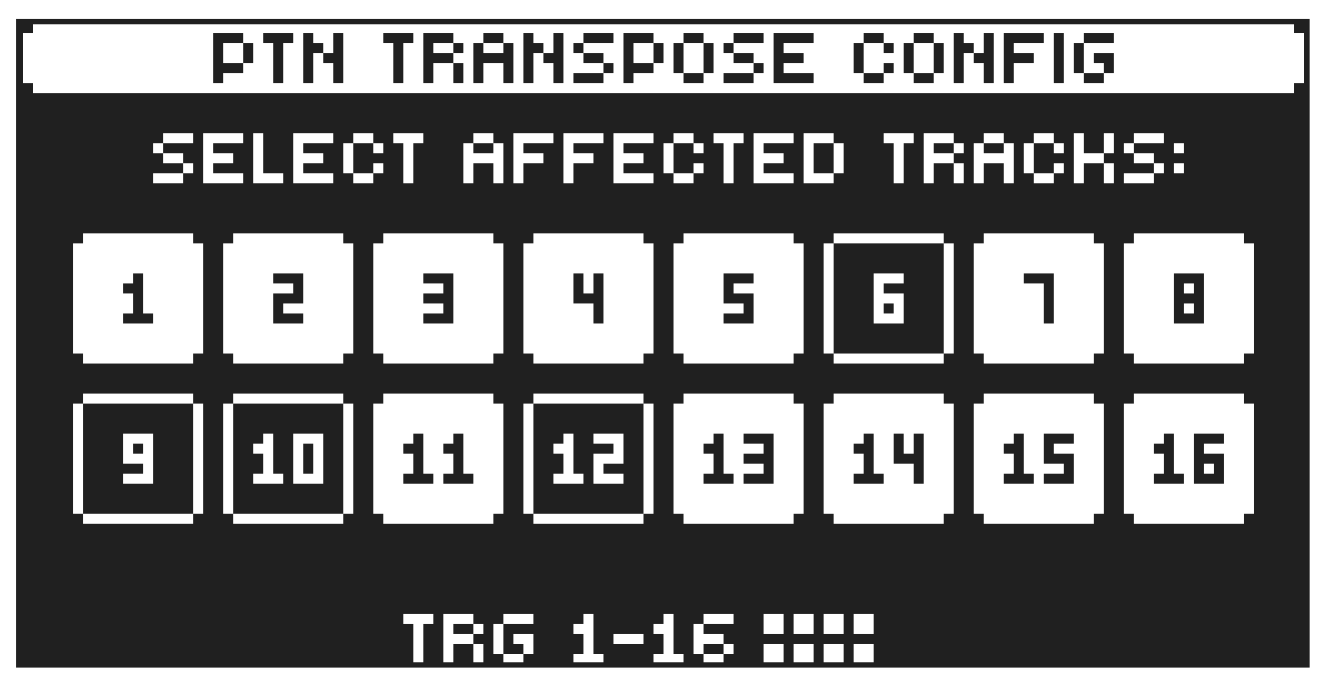
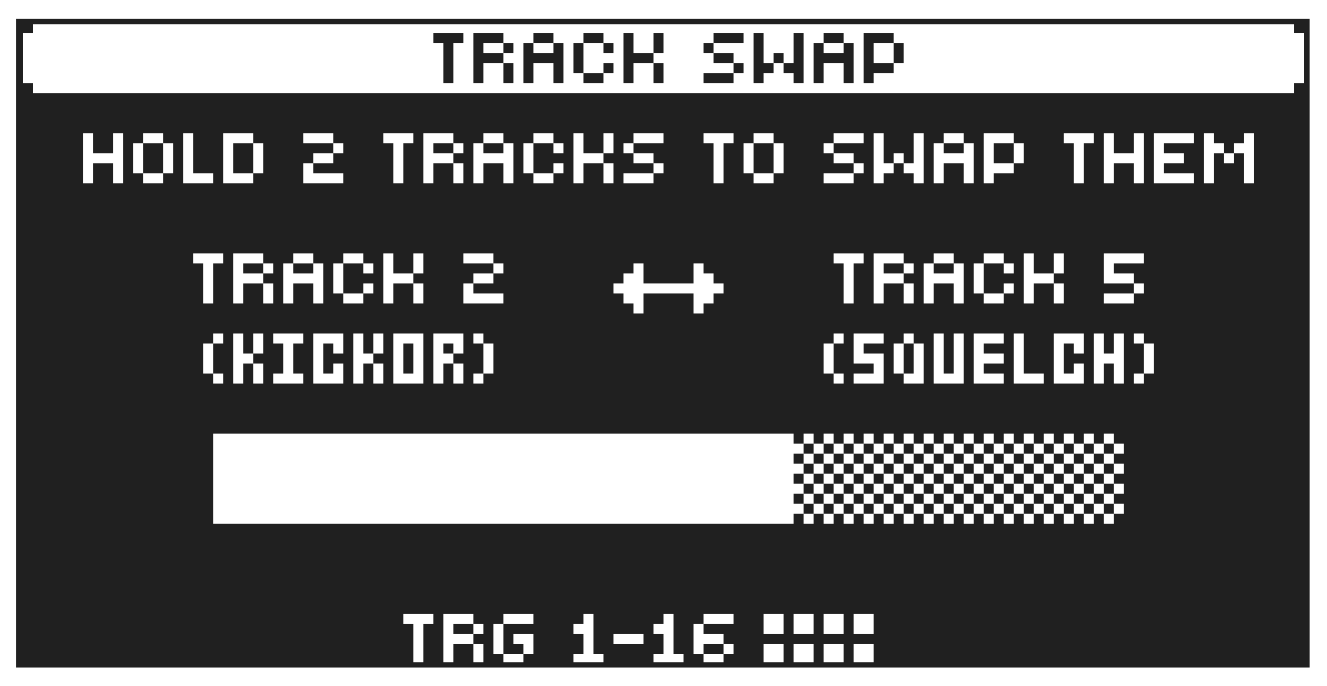
Press [FUNC] + [FLTR] to open the SETUP menu. Here you can set a number of track and kit related parameters. Use the [UP] and [DOWN] arrow keys to move between the options. Press [YES] to confirm your selection. Press [NO] to exit the menu.
9.6.1 KIT
Here you can select which tracks that should be affected by control all and set up the track routing to the compressor.
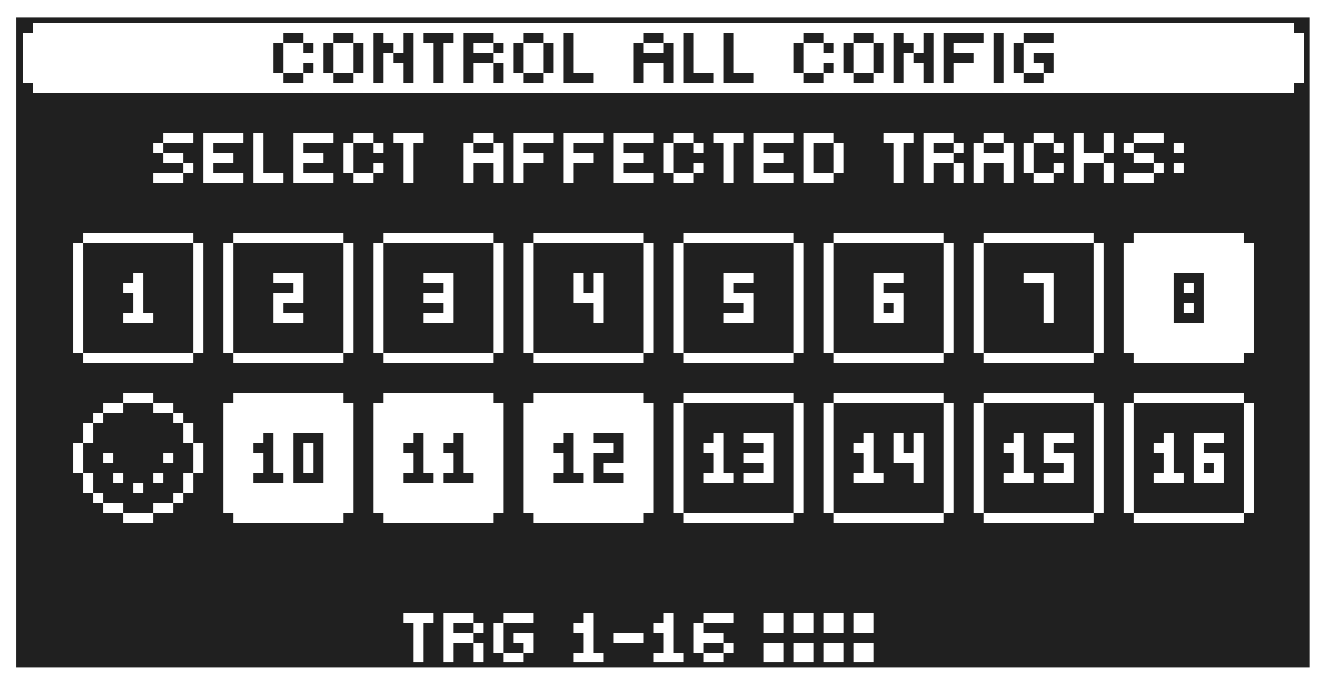
CONTROL ALL CONFIG
Use the [TRIG] keys to select which tracks that you want to be affected by the control all functionality.
MIDI tracks can not be selected. For more information, please see “6.2.2 CONTROL ALL” on page 19.
- Control all operations also affects the active track, whether it is selected to be affected or not.
- The control all functionality is not available for the MIDI tracks.
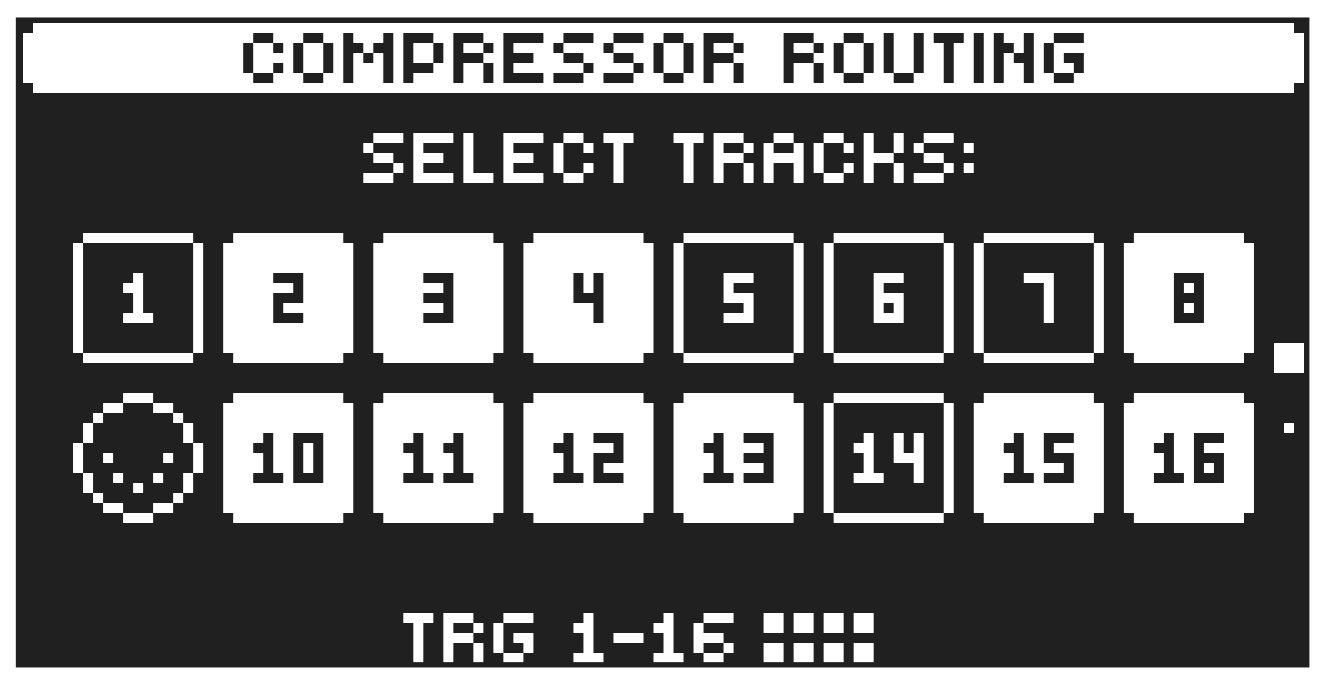
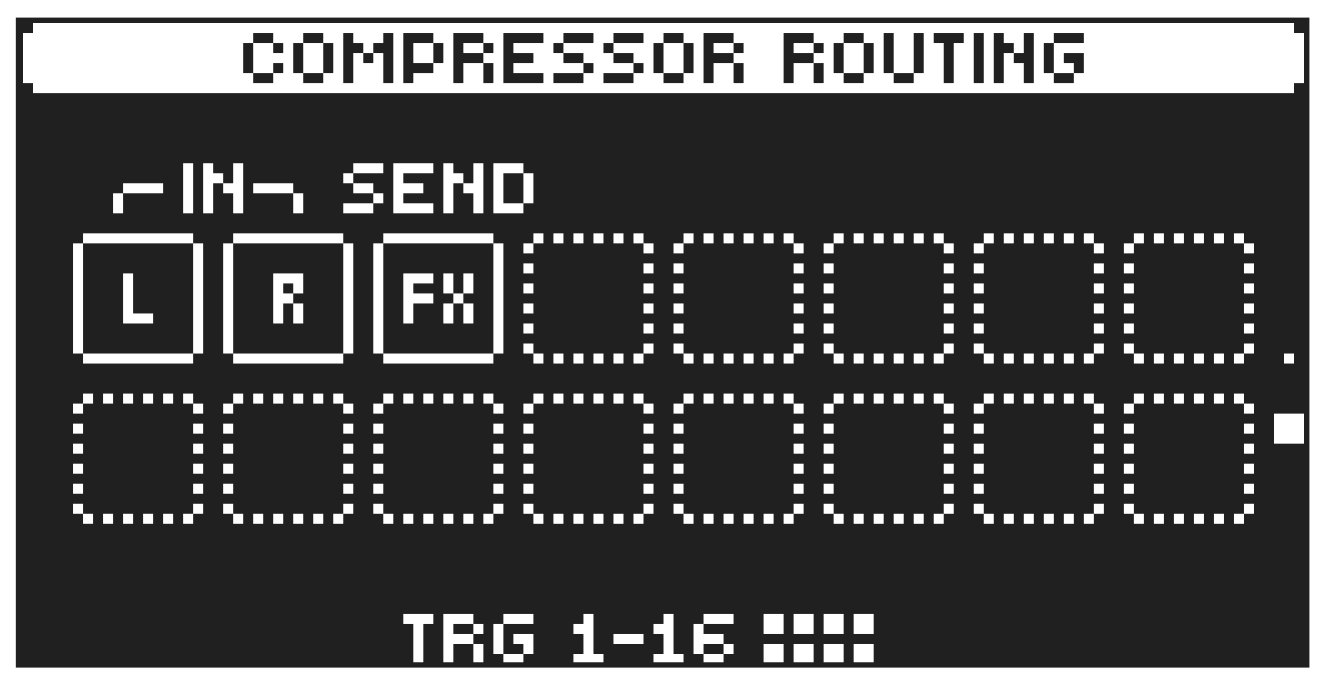
COMPRESSOR ROUTING
Use the [TRIG] keys to select which tracks, inputs and effects that you want to be affected by the compressor. MIDI tracks can not be selected. Use the [UP]/[DOWN] to navigate between the two pages.
TRACK LAYERING
Track Layering makes it possible to trig two or more tracks with the same note from the sequencer or the keyboard. For example, if you set track 1 to trigger track 2 then every note you play on track 1 also plays on track 2, effectively playing two presets at the same time. However, the layering will not cascade trigs. If track 3 is set to be triggered by track 2, and track 2 is set to be triggered by track 1, trigs placed track 1 will not trigger track 3. Tracks that are layered to the active track have filled squares in the parameter representation on the screen.
Use [FUNC] + [TRK] to select the active track, then use the [TRIG] keys to select which tracks that will be layered to the active track.
You can also set the active track to choke other tracks. Choking is a sound design technique where the trigs on one track cut off the sound of one or more other tracks. The normal envelope release is skipped and replaced with a very short release. A common example of this is how a closed hi-hat chokes an open hi-hat.
Press [DOWN] to open the choke setup screen. Use [FUNC] + [TRK] to select the active track, then use the [TRIG] keys to choose which tracks the active track chokes.
PATTERN TRANSPOSE CONF
Use the [TRIG] keys to select/deselect which tracks that you want to be affected by pattern transpose.
TRACK SWAP
Use the [TRIG] keys to swap two tracks together with all settings, presets, and sequencer data and make them change places with each other. Press and hold the two tracks [TRIG] keys untill the screen reads “TRACKS X AND X SWAPPED”.
9.6.2 TRACK
Here you can set a number of track related parameters. Use [UP] and [DOWN] to move between the options. Use [LEFT] and [RIGHT] to select settings or press [YES] to open sub-menus. Press [NO] to exit the menu.
PLAY MODE
Here you can set if a preset is poly- or monophonic and if the LFOs for every voice are synced or not.
POLY The Sound is polyphonic, and the LFOs for each voice are running independently of each other.
POLY M.LFO In POLYPHONIC WITH MONO LFO mode, the preset is polyphonic, and the LFOs for each voice are synced together with the first voice LFO. The LFO of the first voice played determines the cycle of the LFOs, and the subsequently played voices’ LFOs are synced to this cycle. This makes the LFO behave like a single or monophonic LFO. This is useful, for example, if you want to use the LFO for a tremolo effect.
MONO The preset is monophonic, and the envelope is always triggered by each note on/key press.
MONO LEG. In MONO LEGATO mode, the preset is monophonic, but the envelopes are not triggered by a subsequent note on/key press if the first note is still held. The number of voices used to play a preset is also affected by the LOCKED VOICES setting in the VOICE MENU. For more information, please see “10.7 VOICE SETUP MENU” on page 47.
MONO NOTE PRIO
Here you can set the note priority, i.e., what note is played if more than one note is played at the same time. This setting is only available If PLAY MODE is set to MONO or MONO LEG.
LAST gives priority to the last note played.
LOW gives priority to the lowest note played.
HIGH gives priority to the highest note played.
VELOCITY TO VOL
Selects how MIDI velocity affects volume when playing the preset from a MIDI keyboard.
OFF means velocity does not affect the volume of the sound.
LOG applies a logarithmic velocity curve. The volume difference are greater between softer keyboard presses than between harder.
LIN applies a linear velocity curve. The volume difference between keyboard presses corresponds linearly to the force applied.
EXP applies an exponential velocity curve. The volume difference are greater between harder keyboard presses than between softer.
EXP 2 applies an exponential velocity curve. The volume difference are greater between harder keyboard presses than between softer. The EXP 2 curve has a higher starting point, meaning that a low velocity has a higher impact on the volume than on EXP.
OCTAVE
Sets the base octave of the preset. It also makes preset locking more practical since you can control the octave setting on the preset and minimize the need to transpose the sequencer notes to make two or more presets work together.
PITCH BEND DEPTH
Sets how much the pitch bend data from external MIDI devices affects the Digitone II.
PORTAMENTO
Here you find settings related to the portamento. For more information, please see “11.3 TRIG PAGE 2” on page 58.
TYPE
TRACK When you play notes, the pitch glides from the pitch of the last note played to the next new note played on the track.
VOICE When you play notes, the pitch glides from the pitch of the last note played by a specific voice to the pitch of the next new note played by the same voice.
LEGATO ONLY When playing notes, the pitch glides from the pitch of the last note played and held (the key pressed down and not yet released) to the pitch of the next new note played on the track.
SLOPE
CONSTANT RATE The pitch glides linearly at a constant rate. Longer glides take longer time to complete.
CONSTANT TIME The pitch glides linearly, but the glide is completed in a specific time, regardless of the interval between the start and end notes. Glides over wider note intervals, therefore, have a higher rate.
AMOUNT
This setting enables partial glides where just the final part of the interval is included in the glide. For example, a setting of 100 gives a full glide from start to finish. Lower values start the glide closer to the goal pitch.
STYLE
GLIDE Ordinary continuous portamento.
GLISSANDO Quantizes the portamento to semitones.
GATING
OFF The glide continues after the key is released.
ON The glide stops when the key is released.
KEY TRACKING
Opens a menu where you can assign up to four parameters to the key tracking. Both the NOTE parameter on the TRIG menu and the key track information from incoming MIDI sent to the Digitone II from external devices affects the assigned parameters. Press [YES] to open the menu.
You can select parameters from the SYN, FLTR, AMP, FX, and MOD PARAMETER pages. Turn the DATA ENTRY knobs A–D to select the track parameters that you wish to assign. Press [YES] to confirm the selection. Then use DATA ENTRY knobs E–H to set the modulation depth of the four track parameters. The depth is an offset of the original track parameter value.
Turn LEVEL/DATA to test your settings.
For key tracking, all modulation are centered around middle C (C5). A positive modulation value increases the parameter value when playing above C5 and decreases when you play a key below C5. A negative modulation value inverts this behavior.
For example: With a modulation value set to 8, each consecutive note changes the parameter value by 1. With a modulation value set to 127, each consecutive note changes the parameter value by 16, meaning that you reach the full parameter range in 8 notes.
VELOCITY MOD
Opens a menu where you can assign up to four parameters to the velocity parameter. Both the VEL parameter on the TRIG menu and the velocity of incoming MIDI notes sent to the Digitone II from external devices affects the assigned parameters. Press [YES] to open the menu. Selecting parameters and setting modulation depth works in the same way as for KEY TRACKING.
AFTERTOUCH
Opens a menu where you can assign up to four parameters to the MIDI aftertouch command. Press [YES] to open the menu. Selecting parameters and setting modulation depth works in the same way as for KEY TRACKING.
PITCH BEND
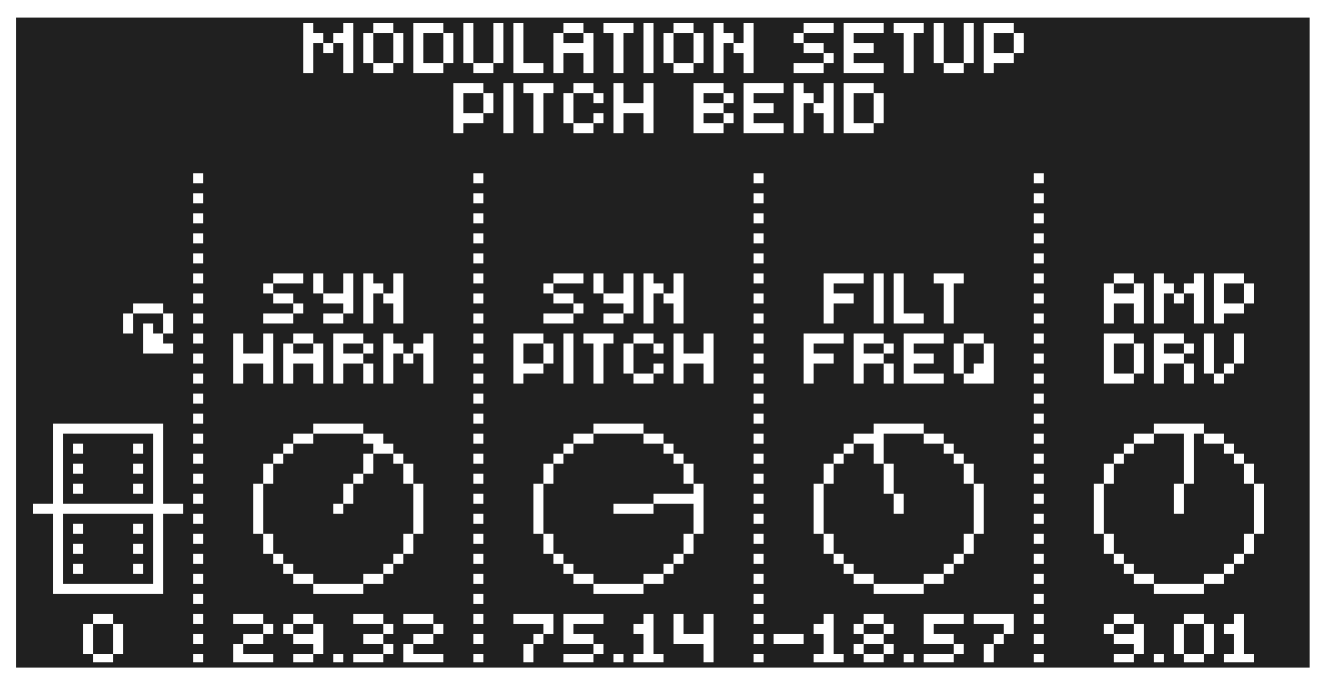
Opens a menu where you can assign up to four parameters to the MIDI pitch bend command. Press [YES] to open the menu. Selecting parameters and setting modulation depth works in the same way as for KEY TRACKING.
MODULATION WHEEL
Opens a menu where you can assign up to four parameters to the MIDI mod wheel command (CC #1).
Press [YES] to open the menu. Selecting parameters and setting modulation depth works in the same way as for KEY TRACKING.
BREATH CTRL
Opens a menu where you can assign up to four parameters to the MIDI breath controller command (CC #2). Press [YES] to open the menu. Selecting parameters and setting modulation depth works in the same way as for KEY TRACKING.
RENAME
Opens the NAMING menu and let you rename the preset of the active track.