14.9 SYSTEM
14. SETTINGS MENU > 14.9 SYSTEM · PDF p. 81–84 · OS 1.42
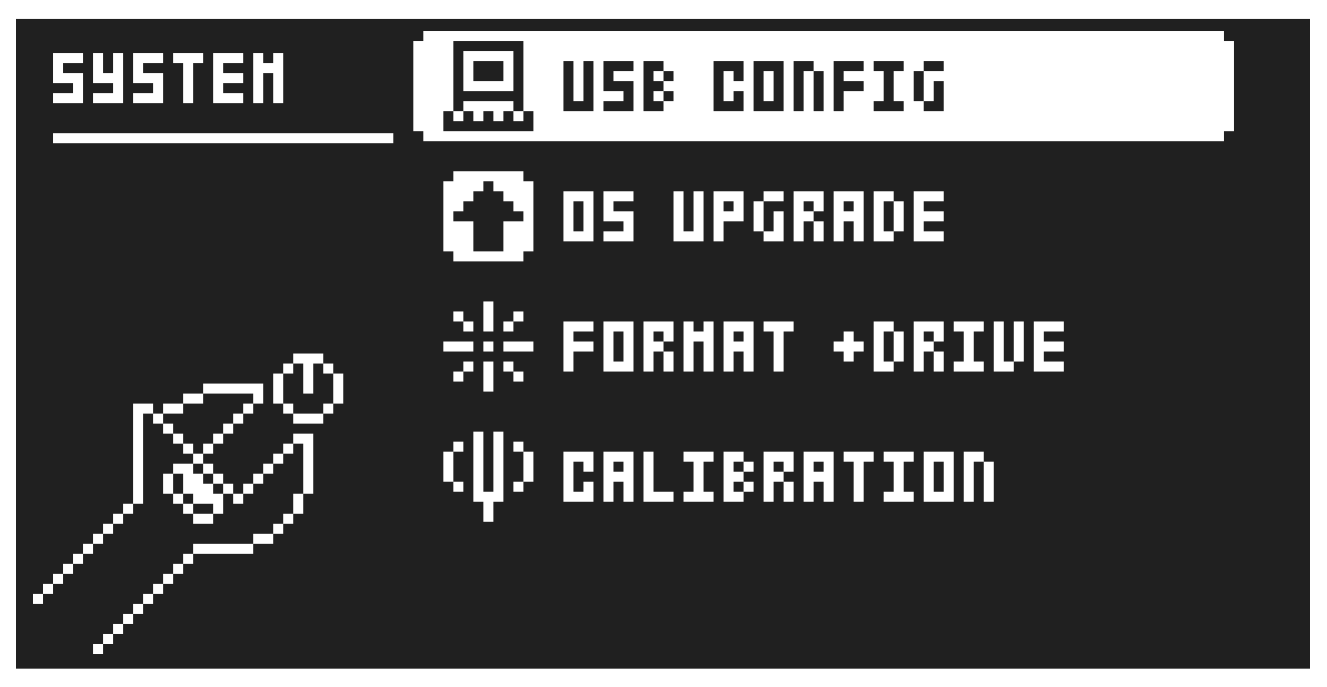
The System menu contains USB CONFIG, LED INTENSITY, REMEMBER SUBPAGE, OS UPGRADE, FORMAT +DRIVE, and CALIBRATION options for the Syntakt.
14.9.1 USB CONFIG
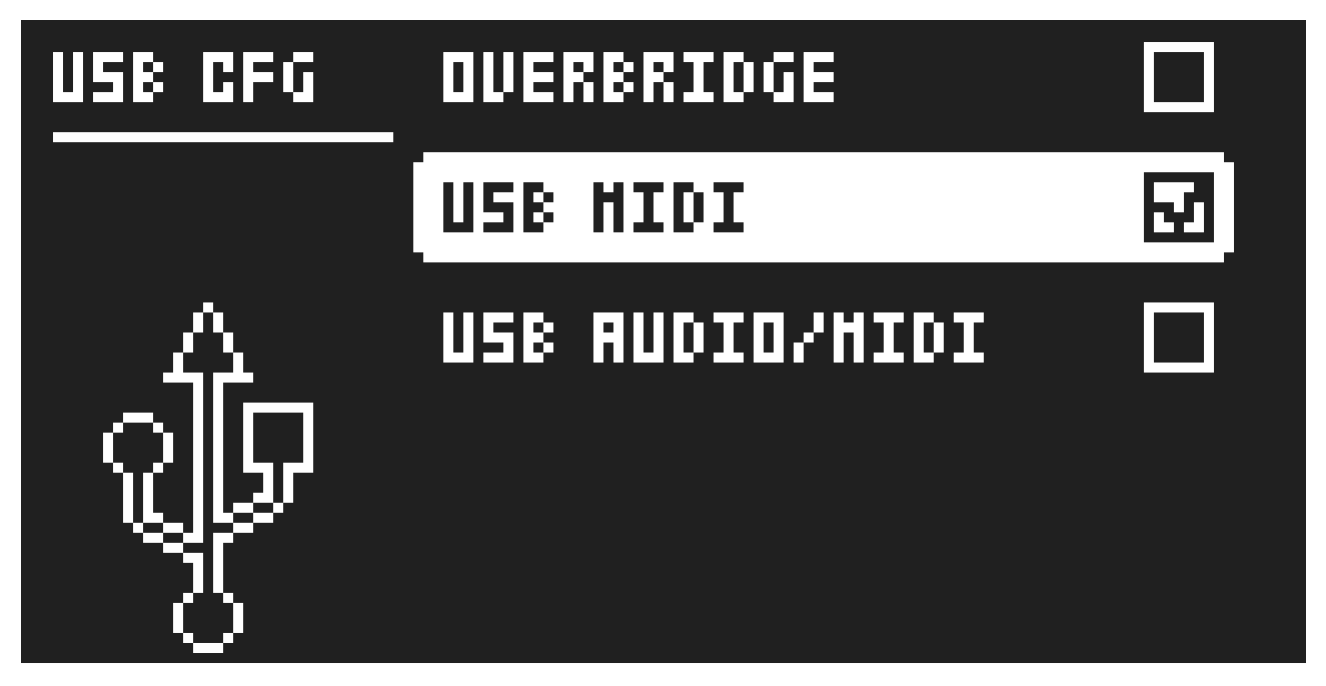
Here you find several settings related to Overbridge and USB audio. Selecting one mode disables the other two modes.
OVERBRIDGE enables Overbridge functionality. For more information, please see “7.13 OVERBRIDGE” on page 27.
USB MIDI select this option If you wish to send and receive MIDI over USB.
USB AUDIO/MIDI sets the Syntakt to send and receive audio and MIDI over USB. Select this option if you want to use the Syntakt together with a class compliant USB audio host. For more information, please see “7.15 CLASS COMPLIANT DEVICE” on page 27.
14.9.2 OS UPGRADE
Use this menu option when you want to upgrade the Syntakt OS. To send the OS file, use our free Elektron Transfer software. Elektron Transfer can be downloaded from the Elektron website. The device sending the OS file must be connected to the USB port of Syntakt.
Please note that the Syntakt will not appear as an icon on your computer desktop.
- Download the Syntakt OS file from the Elektron website.
- Connect the Elektron device to the computer via USB.
- Open the Transfer application on your computer.
- On the Transfer CONNECTIONS page, set the MIDI IN and MIDI OUT ports to your Elektron device, and then press “Connect”.
- On the Transfer DROP page, drag and drop the OS file. The OS file is then automatically transferred to the Elektron device and the OS update initiates. A progress bar is visible on device’s screen when receiving the OS.
- On your device, press [YES] to confirm the OS update.
When the update is done, the Syntakt will reboot.
The Syntakt is always ready to receive an OS upgrade file, so you can use Transfer to drop the OS file at any time without using this menu option.
14.9.3 FORMAT +DRIVE
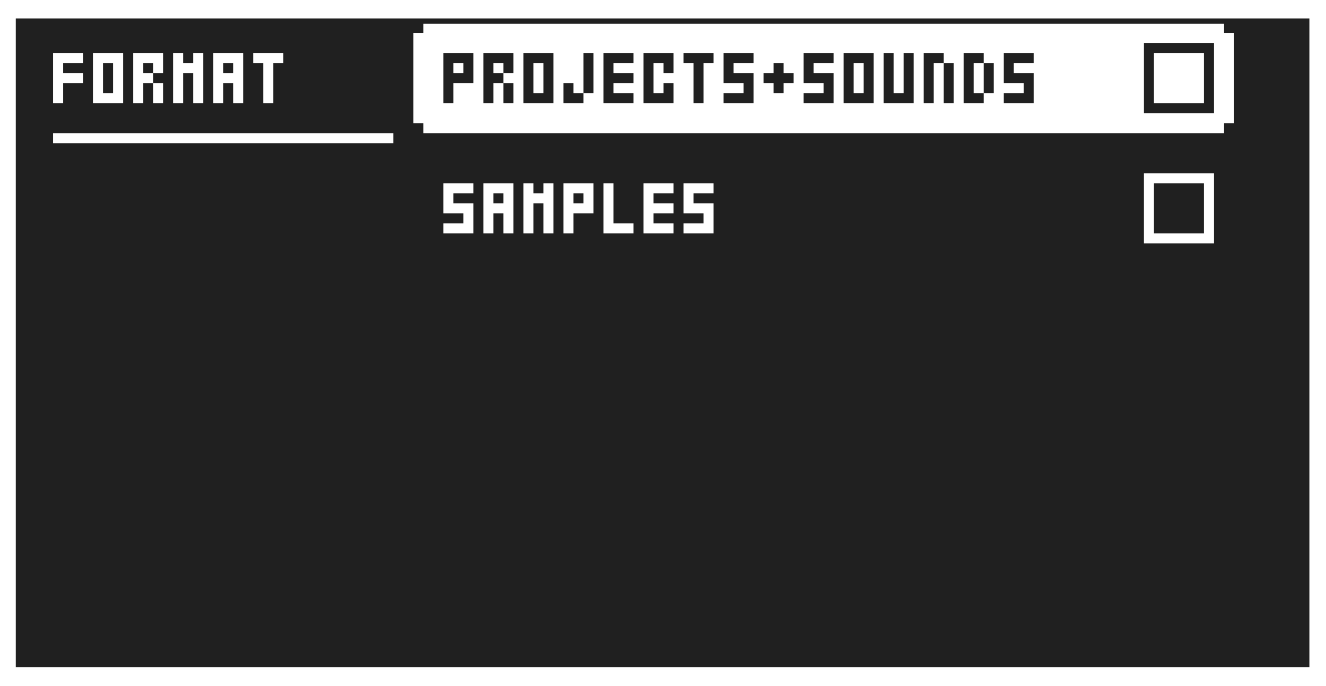
You have the possibility to erase all content of the +Drive. Once you have made your choices using the [LEFT] or [RIGHT] arrow keys and confirmed by pressing [YES], a prompt will appear asking if you want to execute the formatting procedure. Press [YES] to proceed with the formatting.
PROJECTS+SOUNDS Erases all projects and sounds. Tick/untick this box by pressing the [LEFT] or [RIGHT] arrow keys.
SAMPLES Erases all samples. Tick/untick this box by pressing the [LEFT] or [RIGHT] arrow keys.
14.9.4 CALIBRATION
After selecting one of the options, a popup window asking to confirm the calibration will appear. Press [YES] to proceed with the calibration. Please note that the calibration routine takes quite a while to complete.
RUN CALIBRATION Calibrates the oscillators using the current working temperature. It is used to improve the tuning of the analog oscillators when operating the device in an environment where the temperature is outside of the normal operating range (~20–25C). The unit will automatically use the most optimal calibration data set available. The device can hold up to two extra sets of user calibration data.
Before calibrating your unit, leave it on for a few hours to stabilize the internal temperature.
FACTORY RESTORE Restores the calibration data to the same state as it was when it was calibrated during production.