9.7 ASSIGNING A SAMPLE
9. PATTERNS, KITS, PRESETS, AND SAMPLES > 9.7 ASSIGNING A SAMPLE · PDF p. 36 · OS 1.17
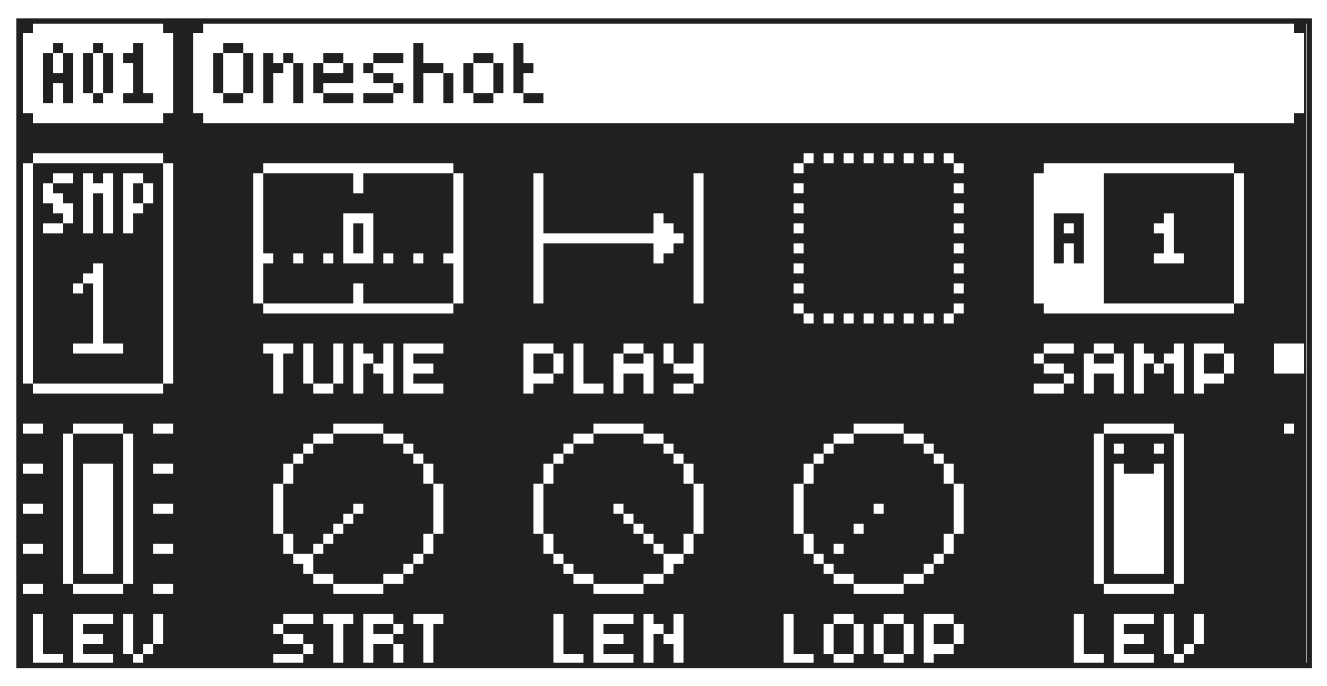
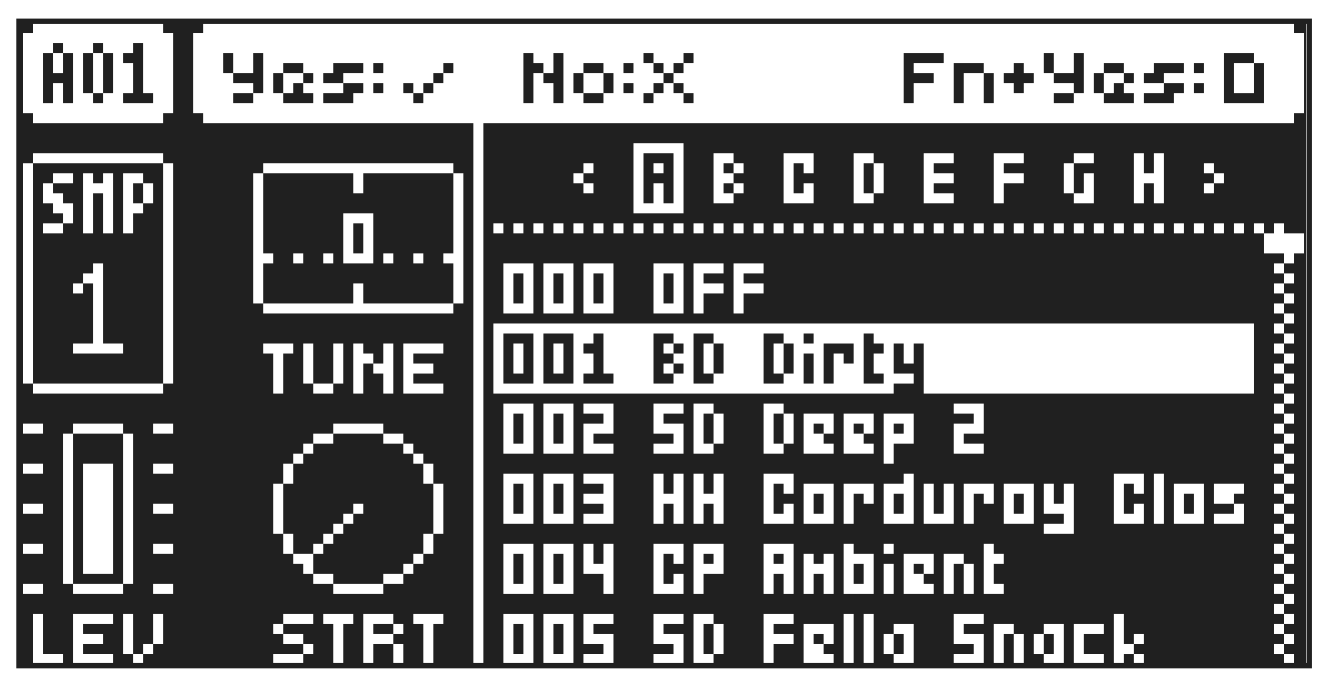
Any of the 1016 samples loaded to a project may be assigned to a preset on any of the audio tracks. The user samples can be replaced, relocated and otherwise managed in the SAMPLES menu. For more information, please see “13.6 SAMPLES MENU” on page 70.
- Press [TRK] + [TRIG 1–16] to select a track to assign the sample to.
- Press [SRC] to open the SOURCE parameter page.
- Turn DATA ENTRY knob D to bring up a list of the samples in the pool. For more information, please see “13.6.1 LOADING A SAMPLE” on page 71.
- Turn the knob counter-clockwise to scroll up the list, clockwise to scroll down the list. Press the [TRIG] key of the active track while browsing to listen to the sample currently outlined.
- Press [YES] to select a sample. Press [NO] to exit the list without selecting a sample. Press [FUNC] + [YES] to go to the selected samples slot in the +Drive.
9.7.1 ASSIGNING A SAMPLE USING THE QUICK ASSIGN METHOD
You can also use the Quick assign method to load a sample to a track and the project’s pool.
- Press [SRC] to open the SOURCE page, and then turn the knob for the SAMP parameter.
- While the Sample list is open, press [FUNC] + [YES] to open the SAMPLES menu. For more information, please see “13.6 SAMPLES MENU” on page 70.
- Navigate to the sample you want to load. Any sample can be previewed (played back by the voice of the active track), just highlight it and then press [FUNC] + [YES]. Approximately, ten seconds of the sample can be previewed.
- Highlight the sample, and then press [YES] to load it directly to the track and the project’s pool.