13.6 SAMPLES MENU
13. SAMPLING > 13.6 SAMPLES MENU · PDF 第 70–75 · OS 1.17
Press [FUNC] + [SAMPLING] to open the SAMPLES menu.
Use the [UP]/[DOWN] keys to select if you want to view the +Drive or the RAM storage. Press [YES] to open the selected storage space.
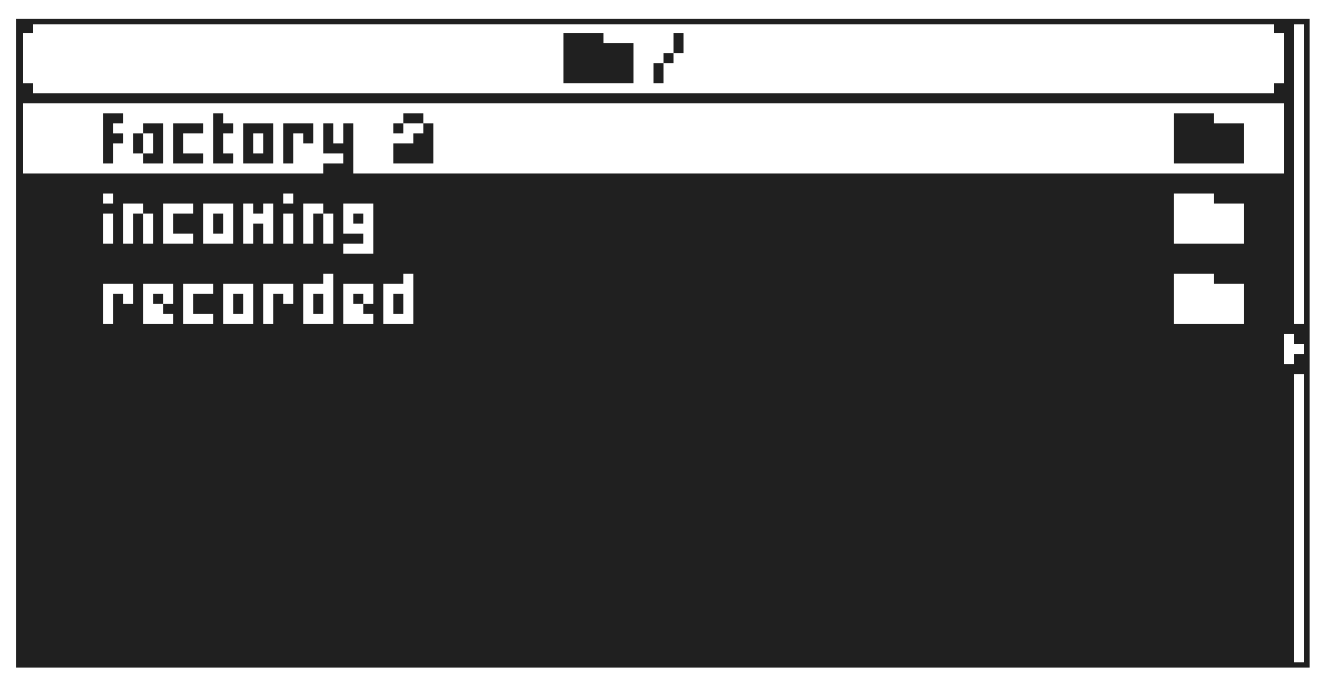
Here you can manage your samples. Initially, here are two directories FACTORY and INCOMING. A wide array of factory samples are available in the write protected FACTORY directory. The INCOMING directory is the default destination for samples sent to the Digitakt II +Drive storage via a SDS transfer software. A third directory, RECORDED will appear once you have done the first sampling on the device and will contain the samples you create when you sample with the Digitakt II.
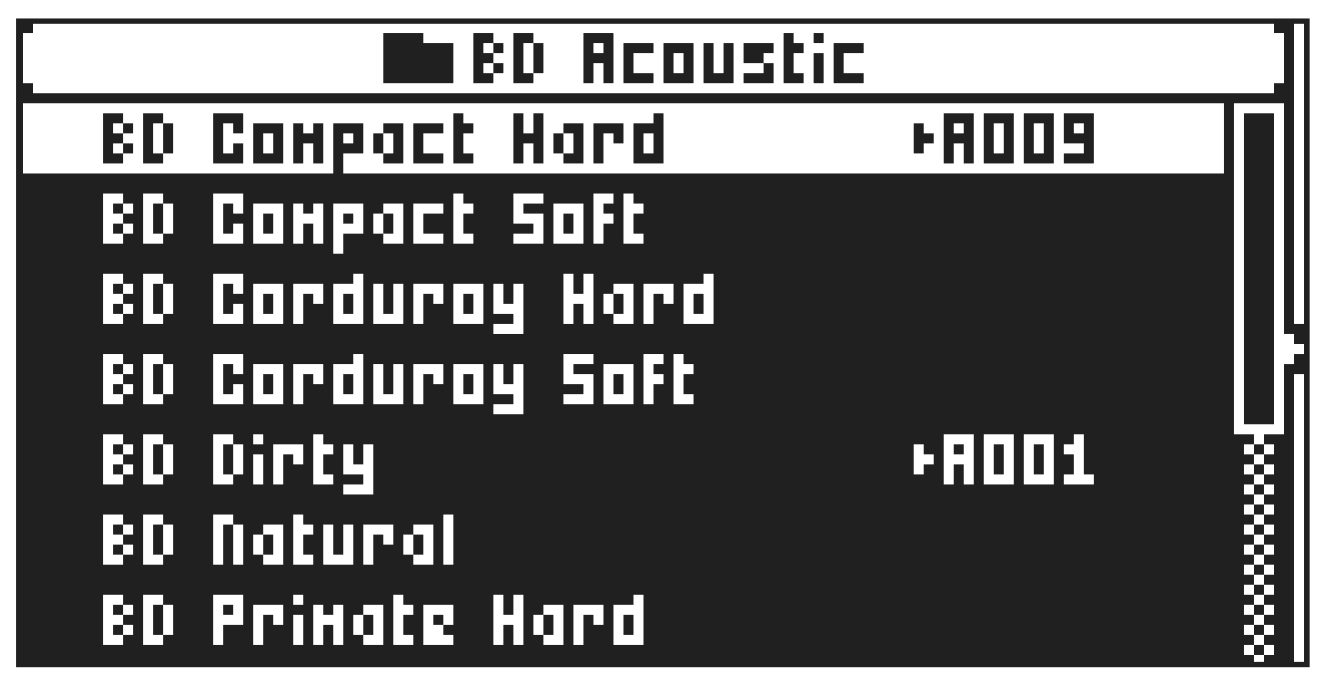
Use the [UP]/[DOWN] keys to highlight a directory, and then press [YES] to open it. To exit a directory and back one step up in the directory hierarchy, press [NO]. Pressing and holding [NO] takes you to the top level of the SAMPLES menu. When browsing a directory in the +Drive, a sample assigned to one of the 1016 sample slots of the active project will have its slot number shown as seen below.
13.6.1 LOADING A SAMPLE
You can load one or several samples to the RAM memory of the active project.
- Press [FUNC] + [SAMPLING] to open the SAMPLES menu, and then use the [UP]/[DOWN] keys to select +DRIVE. Press [YES] to open the +Drive storage.
- Open the FACTORY directory, and navigate to the samples you want to load.
- Highlight the samples, and then press [YES] to select them. Press [YES] on a selected sample to deselect it. Any sample can be previewed, played back by the voice of the active track (make sure to select an audio track). Highlight the sample and then press [FUNC] + [YES]. Approximately, ten seconds of the sample can be previewed.
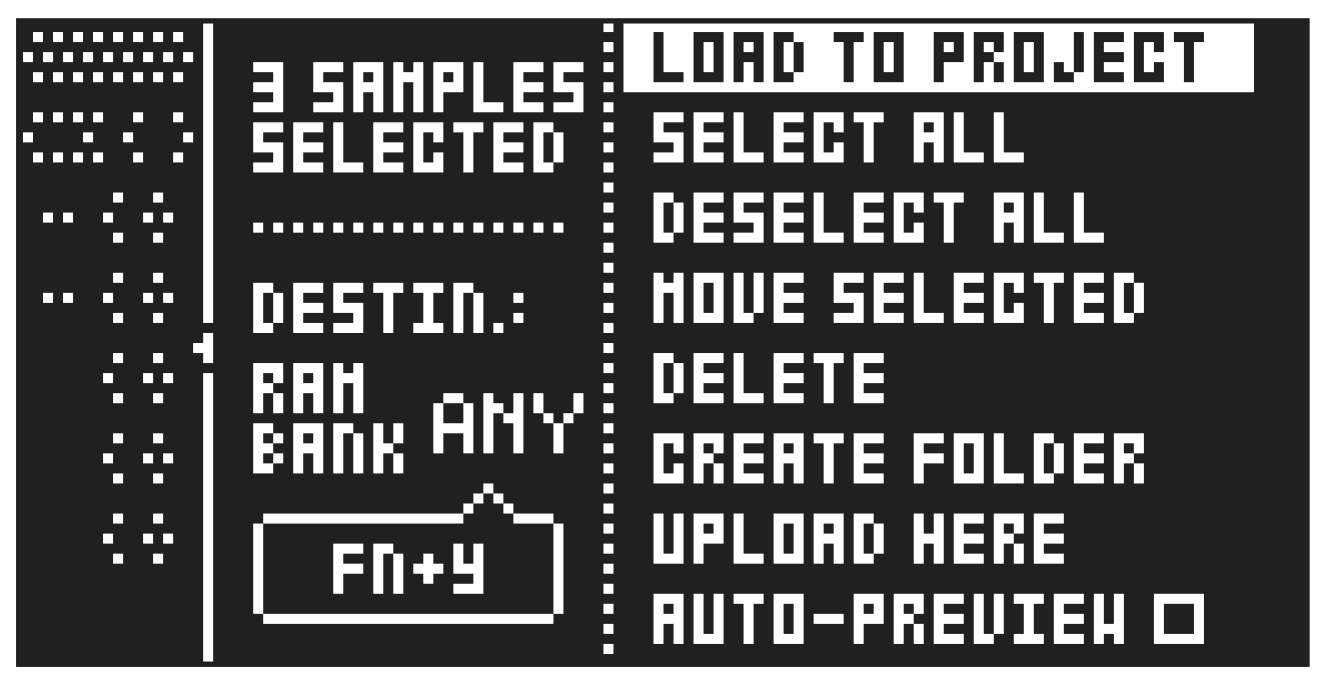
- Press [RIGHT] to open the SAMPLE ACTION menu.
- Select LOAD TO PROJECT and press [YES].
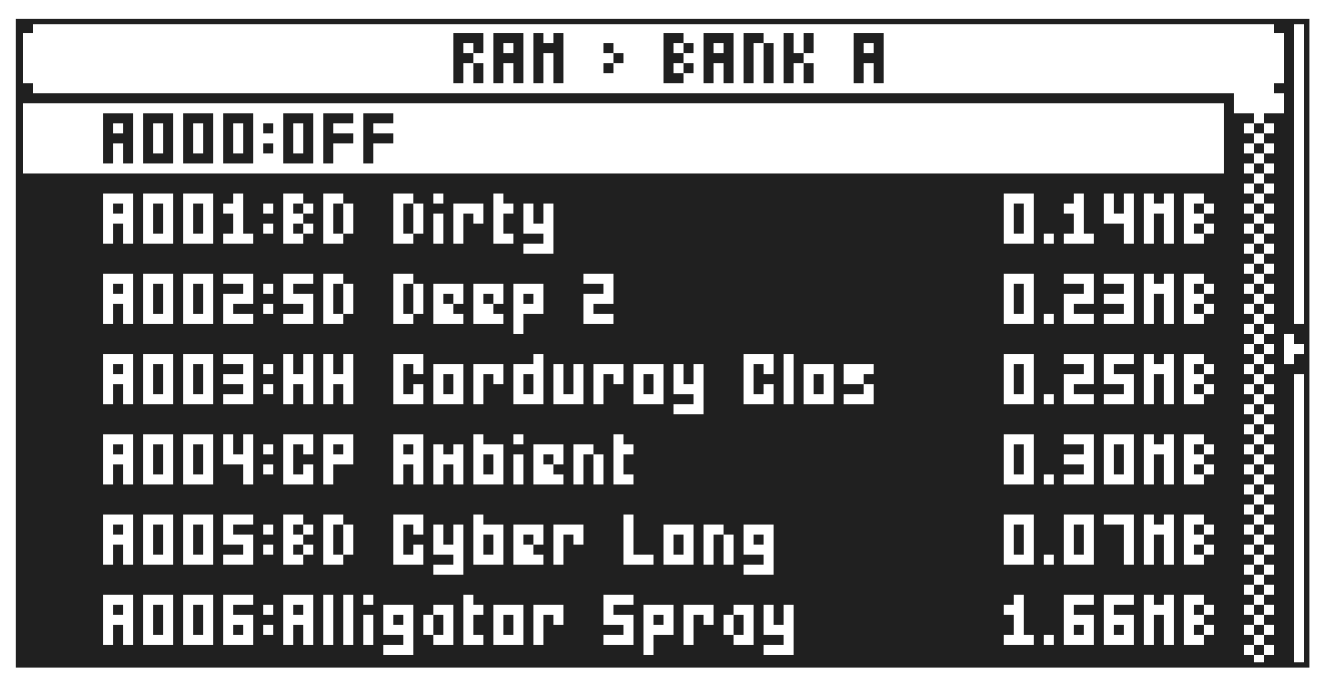
The samples you selected (ticked) will now appear in the first available empty slots out of the 1016 sample slots of the active project. To view the samples currently in the RAM storage of the active project, press [FUNC] + [SAMPLING] to open the SAMPLES menu, and then use [UP]/[DOWN] to select the PROJECT RAM. Press [YES] to open the RAM storage.
If you instead want to load the samples to a specific RAM bank, press [FUNC] + [YES] and then use [LEFT]/[RIGHT] or LEVEL/DATA or [TRIG 9–16] to select RAM bank.
On this screen, the 1016 samples may be unloaded individually or collectively to empty the slots.
13.6.2 UNLOADING A SAMPLE
You can unload one or several samples from the RAM memory of the active project.
- Press [FUNC] + [SAMPLING] to open the SAMPLES menu, and then use the [UP]/[DOWN] keys to select the PROJECT RAM. Press [YES] to open the projects RAM storage.
- Scroll the list using [UP]/[DOWN] or the LEVEL/DATA knob.
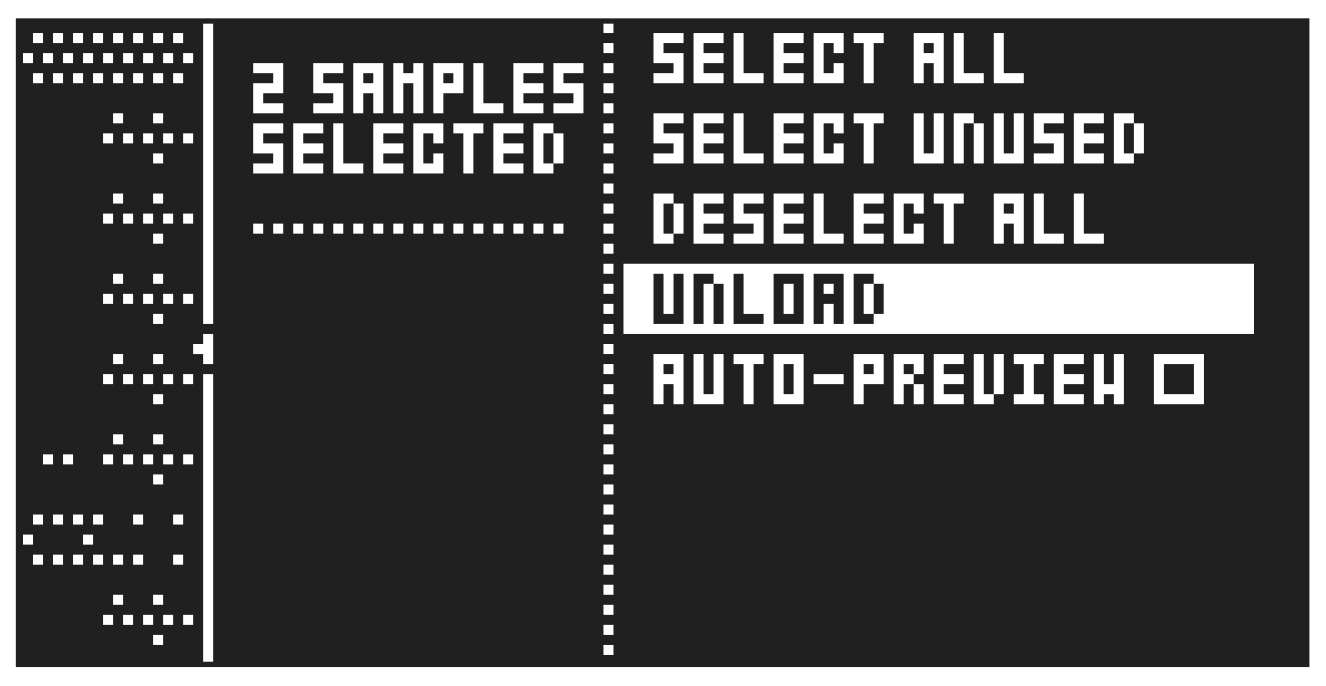
- Highlight the samples, and then press [YES] to select the samples, or bring up the SAMPLE ACTION menu by pressing [RIGHT] and choose SELECT ALL.
- Press [YES] and then select UNLOAD, and then press [YES] again to empty the slots of the selected samples.
13.6.3 REPLACING A SAMPLE
You can replace a sample in the RAM memory of the active project.
- Highlight the slot containing the sample you wish to replace, and then (without selecting any samples) press [RIGHT] to open the SAMPLE ACTION menu, and select REPLACE, and then press [YES] again.
- Browse the directories of the +Drive, locate the desired sample and press [YES] to place it in the previously highlighted sample slot.
If you wish to go back to browsing the +Drive storage directories, press [NO] to go back to the SAMPLES menu, and then use the [UP]/[DOWN] keys to select +DRIVE. Press [YES] to open the +Drive storage.
13.6.4 RENAMING A SAMPLE
You can also rename a sample.
- Navigate to the directory that contains samples you want to rename.
- Highlight the sample you want to rename, and then press [YES] to select it.
- Press [RIGHT] to open sample action menu, and then Select RENAME and press [YES].
- Use the NAMING screen to rename the sample and then press [YES].
13.6.5 MOVING A SAMPLE
You can move one or several samples from one directory to another.
- Navigate to the directory that contains samples you want to move.
- Highlight the samples you want to move, and then press [YES] to select them.
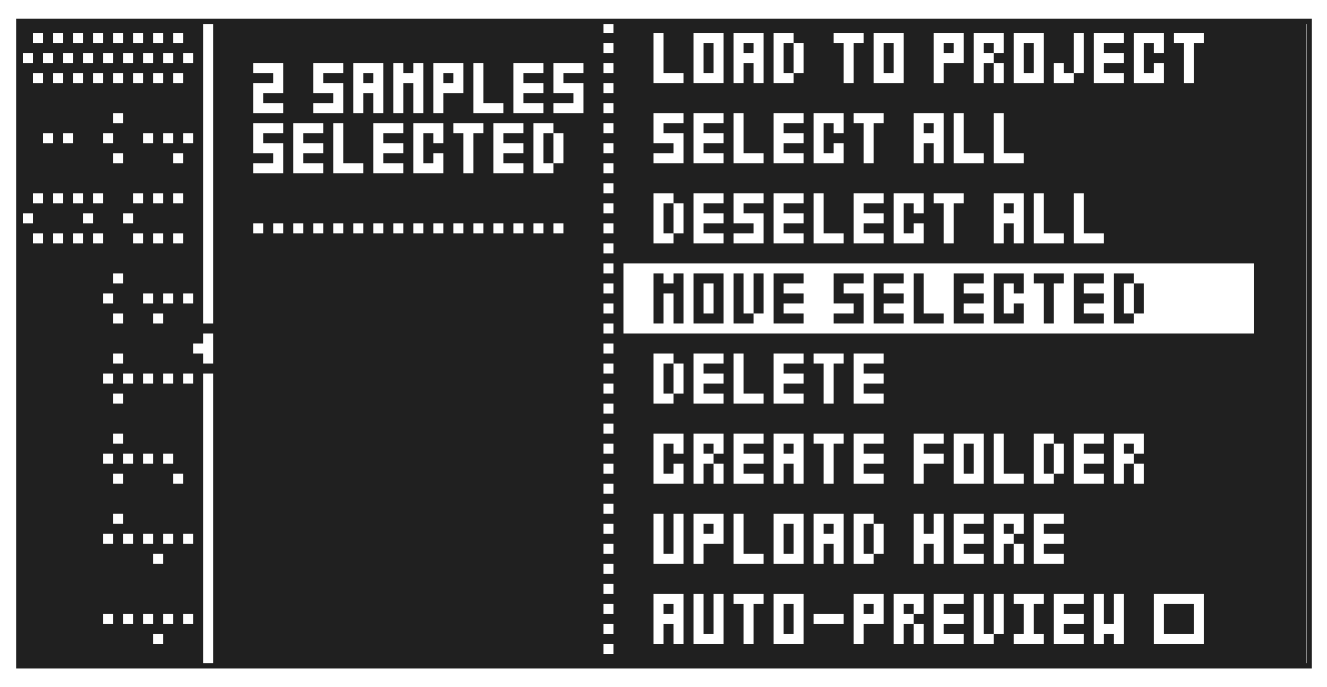
- Press [RIGHT] to open the SAMPLE ACTION menu.
- Select MOVE SELECTED and press [YES].
- Navigate to the directory to where you want to move the samples.
- Press [RIGHT] to open the SAMPLE ACTION menu and then highlight MOVE HERE.
- Press [YES] to move the samples.
13.6.6 REMOVING UNUSED SAMPLES FROM RAM
You can use this feature to remove all samples that are not used in any pattern in the project from the RAM memory. The samples are not removed from the +Drive.
- Press [FUNC] + [SAMPLING] to open the SAMPLES menu, and then use the [UP]/[DOWN] keys to select PROJECT RAM. Press [YES] to open the RAM memory.
- Press [RIGHT] and the SAMPLE ACTION menu will appear. Select SELECT UNUSED, and then press [YES].
- Select UNLOAD. A warning popup will appear asking “UNLOAD X SAMPLES? CONFIRM? Y/N”.
Press [YES] to remove all unused samples.
13.6.7 TRANSFERRING SAMPLES FROM A COMPUTER TO DIGITAKT II
- Connect Digitakt II to the computer via USB.
- Open the Elektron Transfer software (Available on the Elektron website) on your computer.
- On the Transfer CONNECTIONS page, set the MIDI IN and OUT ports to your Digitakt II.
- In Transfer, click the EXPLORE tab to open the EXPLORE page.
- On the top right side, in the drop-down menu, select “Samples”.
- On the top left side in the drop-down menu, make sure “My Computer” is selected.
- Under “My Computer” navigate to the files or folders you want to transfer.
- Drag and drop the files or folders to your preferred location on your device. Transfer automatically converts all audio files to 16 bit, 48 kHz audio files, the Digitakt II native audio format. Both mono and stereo files are supported
To use the samples, they need to be loaded to the active project. For more information, please see “13.6.1 LOADING A SAMPLE” on page 71.
13.6.8 CREATING A NEW DESTINATION DIRECTORY
The Digitakt II still supports receiving of samples via MIDI Sample Dump Standard (SDS) and Extended SDS. You need to enable SDS Handshake in order to secure the transmission over fast interfaces like USB MIDI. You also have to enable the transmission of the Extended SDS header if you want the sample name to be sent to the Digitakt II.
This procedure is only for when you use a SDS transfer software tool. If you use Elektron Transfer you can create a new destination directory in the Digitakt II directly from Transfer.
Press [FUNC] + [SAMPLING] to open the SAMPLES menu, and then use the [UP]/[DOWN] keys to select the +Drive. Press [YES] to open the +Drive storage. Press [RIGHT] and select CREATE DIR to create a new directory by pressing [YES]. A naming screen will appear. Give your new destination directory an appropriate name. Press [YES] to open the new directory. In the initially empty directory, press [RIGHT] to open the SAMPLE ACTION menu. Highlight UPLOAD HERE and press [YES].
13.6.9 TRANSFERRING SAMPLES FROM DIGITAKT II TO A COMPUTER
- Connect Digitakt II to the computer via USB.
- Open the Elektron Transfer software (Available on the Elektron website) on your computer.
- On the Transfer CONNECTIONS page, set the MIDI IN and MIDI OUT ports to your Digitakt II.
- In Transfer, click EXPLORE to open the EXPLORE page.
- On the EXPLORE page on the right side under DIGITAKT II, navigate to the samples you want to transfer
- Drag and drop the samples to your preferred folder under MY COMPUTER.
- Make sure you have the latest version of the Elektron Transfer software installed on your computer. You can download the free Transfer software and the Transfer User Manual from the Support section of the Elektron website.
- If MIDI+USB is selected in the INPUT FROM and/or OUTPUT TO settings on the MIDI PORT CONFIG menu, MIDI data transfers will limit the USB speed. When sending or receiving large chunks of data, make sure you use the USB setting.
- Sequencer playback stops when you transfer files to the Digitakt II.