A.2 SRC MACHINES
APPENDIX A: MACHINES > A.2 SRC MACHINES · PDF 第 93–104 · OS 1.17
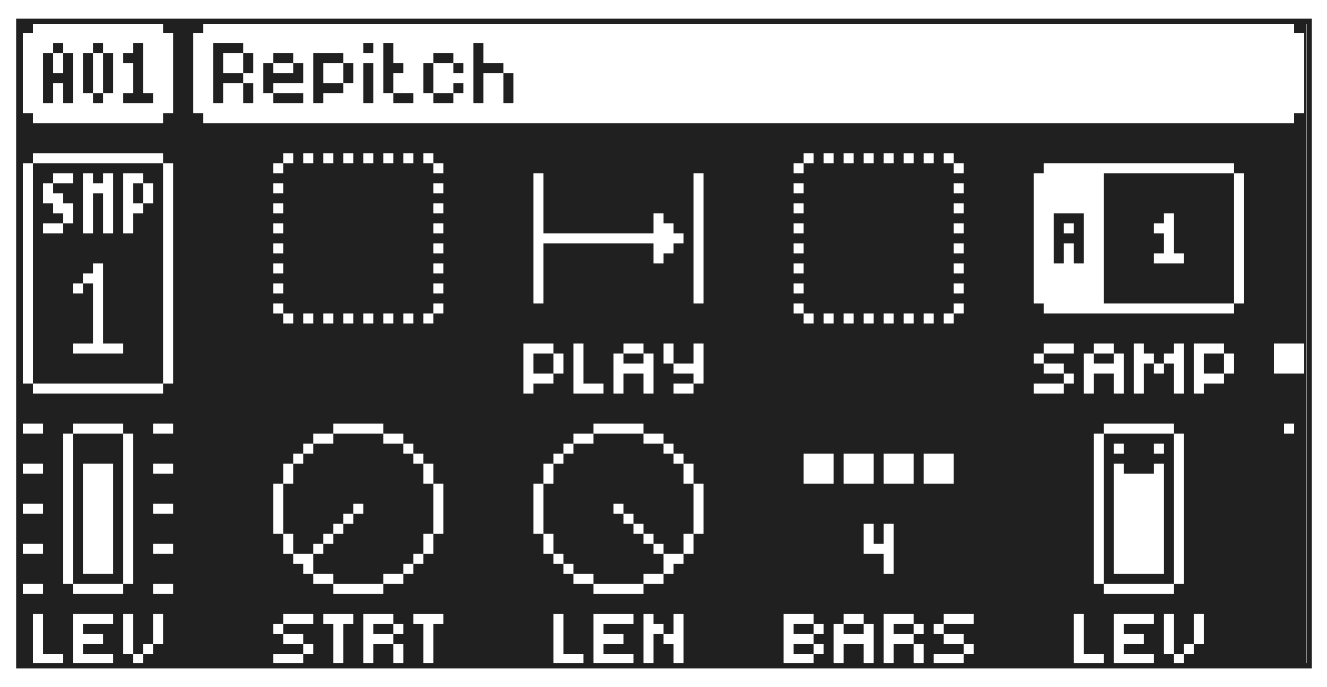
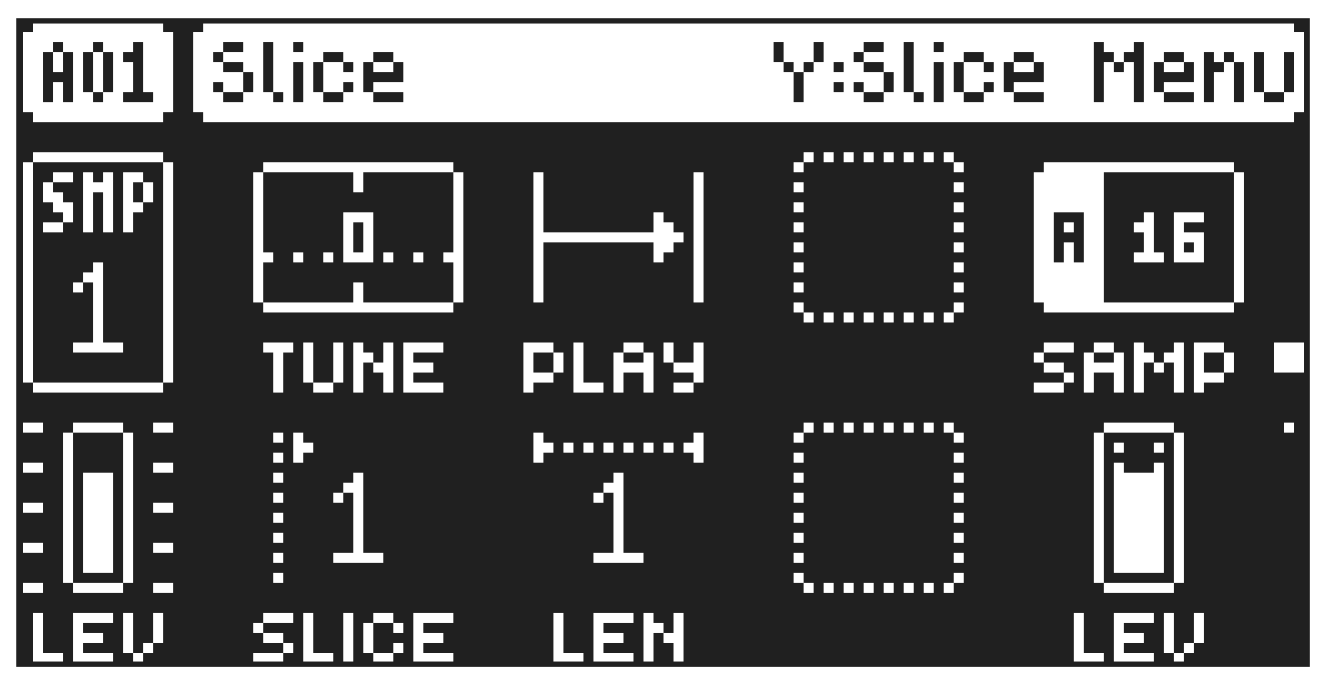
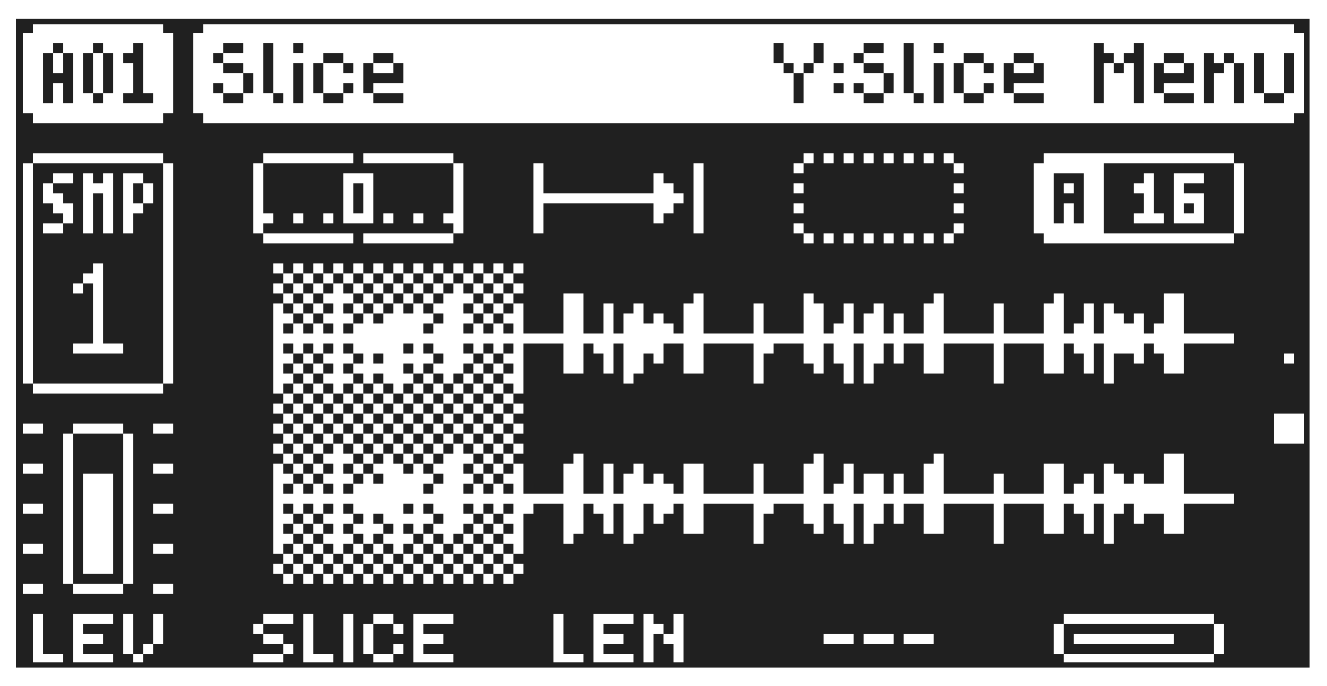
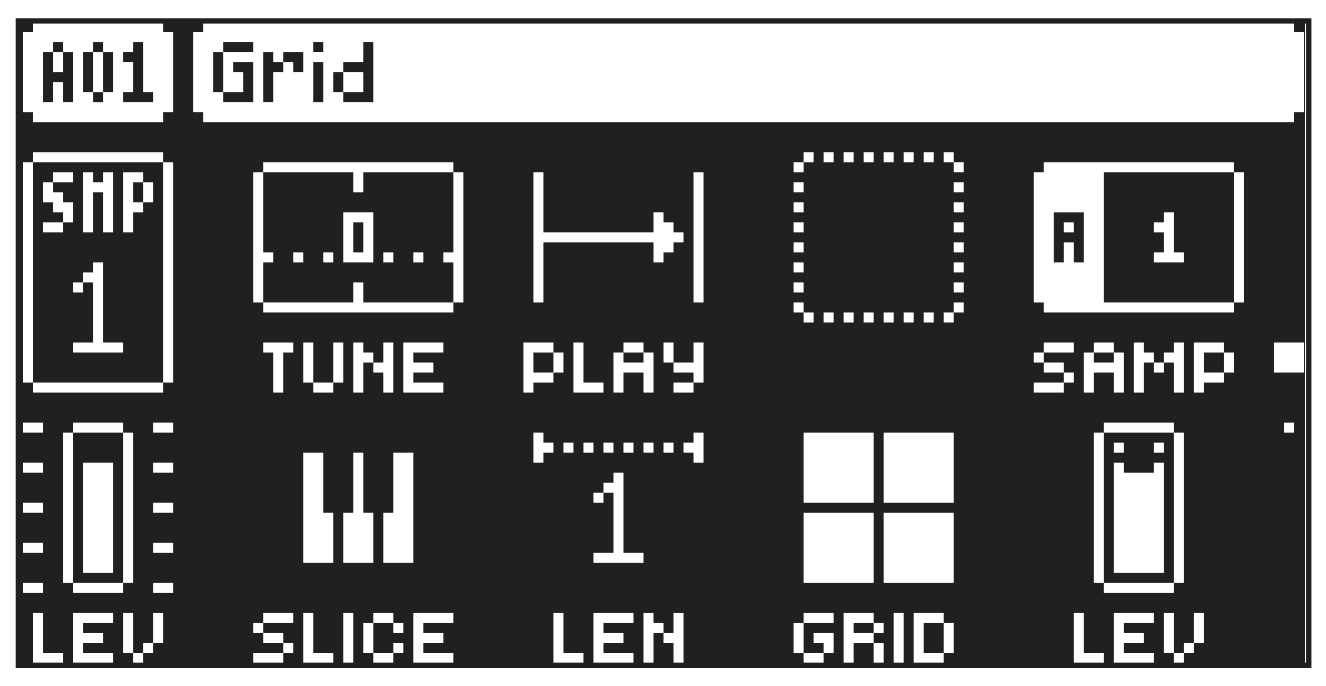
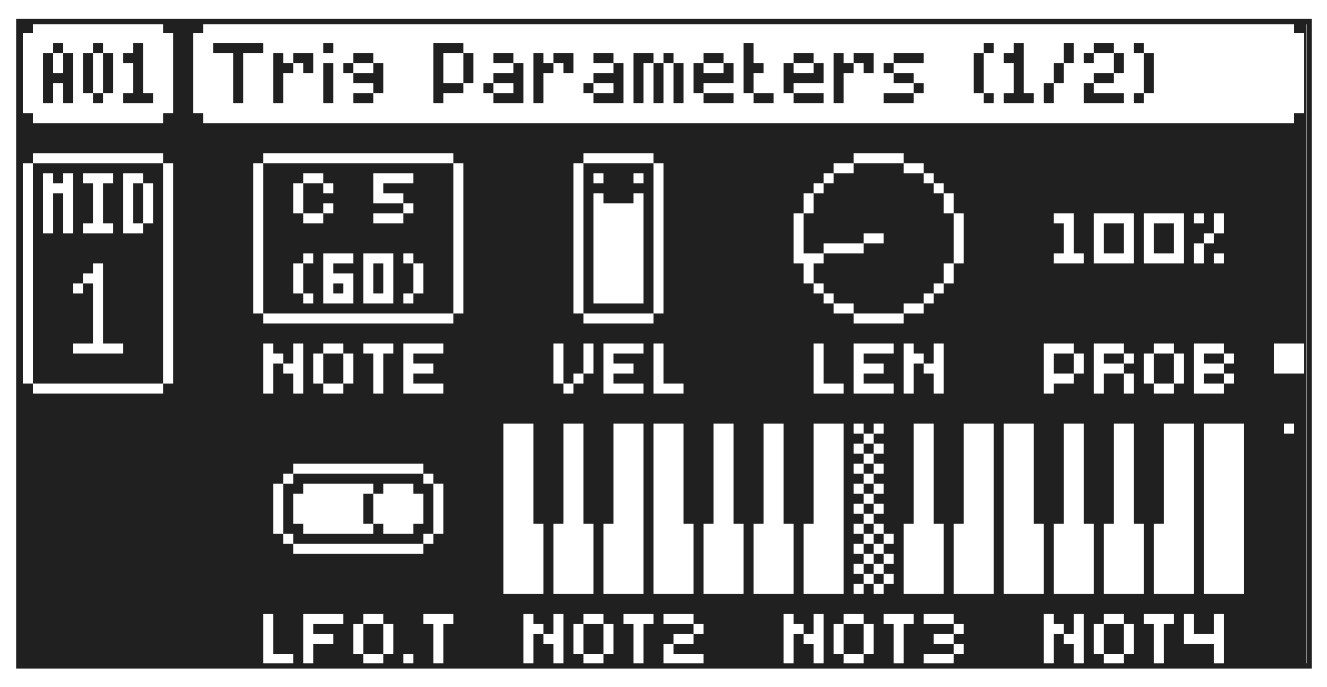
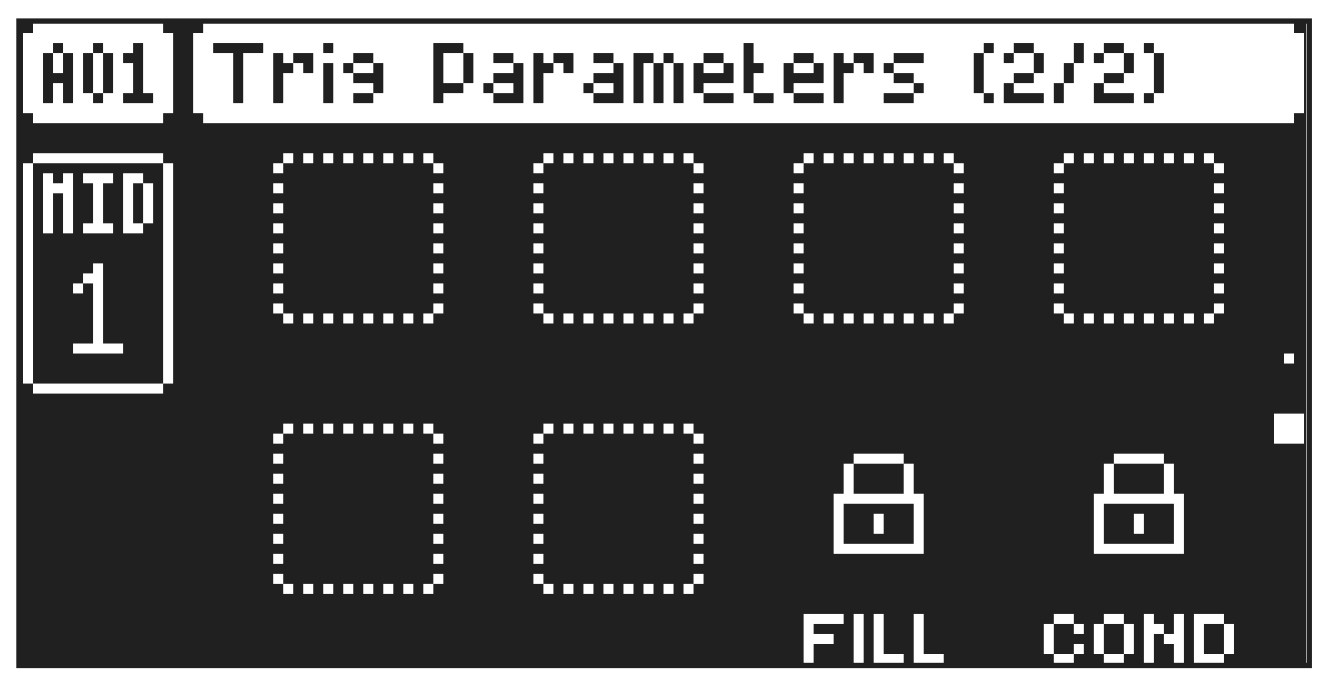
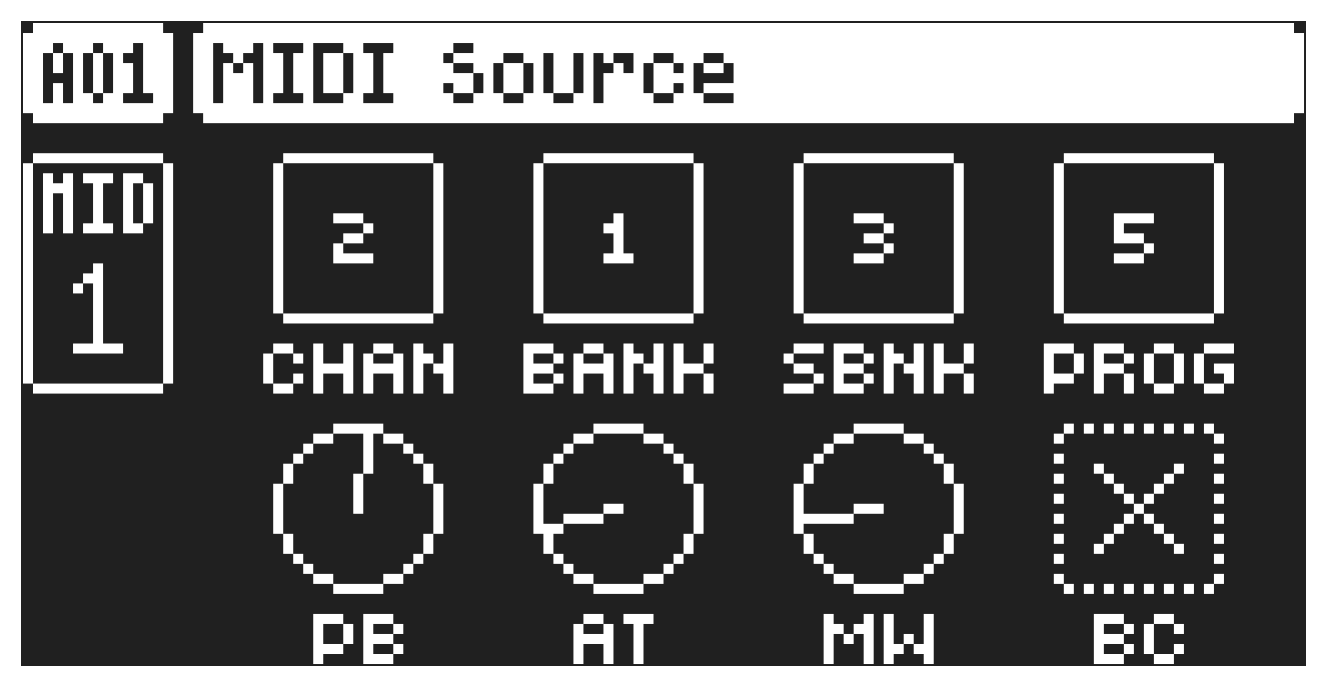
The SRC machines are sound engines that uses a particular subset of the functionality of the sample playback engine. In this section you also find the MIDI machine that lets you control external, MIDI equipped, gear. For more information, please see “5.3.2 MIDI TRACKS” on page 17. You can assign any SRC machine to any track.
A.2.1 ONESHOT
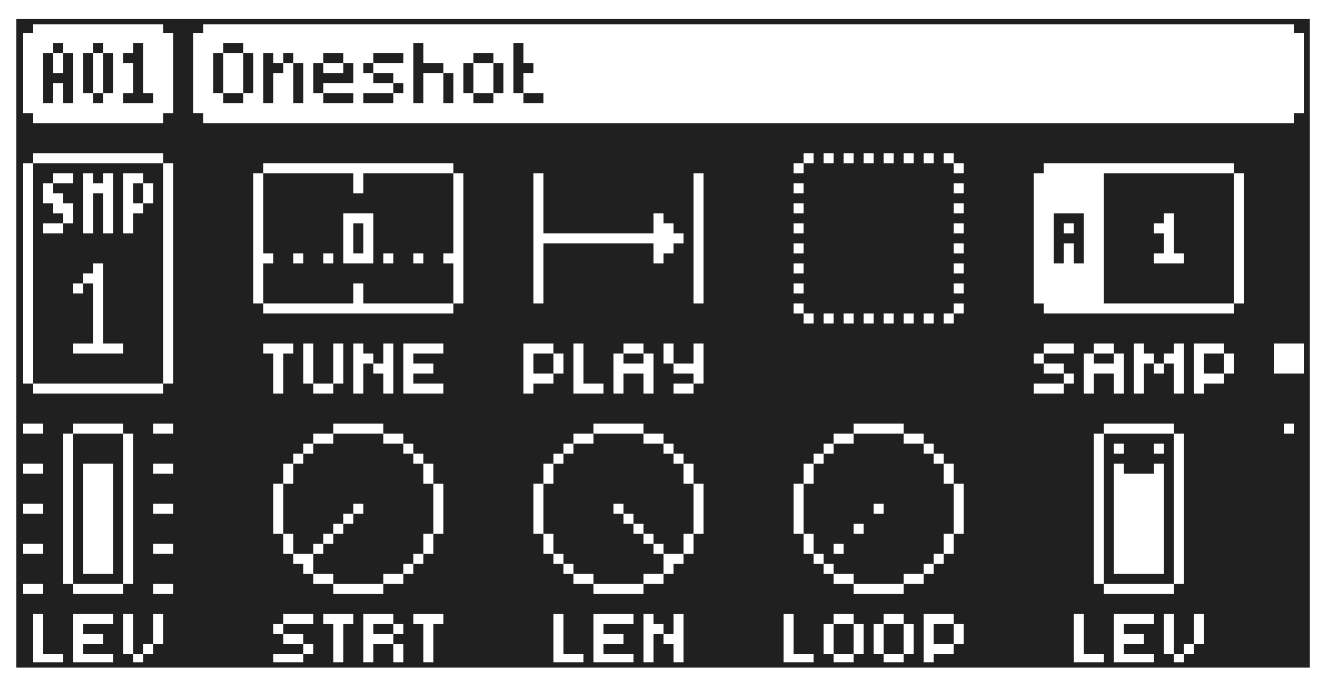
The Oneshot machine is the default machine and plays the sample linearly (forward, reversed, or looped). Press [SRC] to access this parameter page and to toggle between page 1 and page 2.
TUNE
Tune sets the pitch of the sample. The knob works in a bipolar fashion, and a value of 0 leaves the pitch unchanged. The range is +/- 5 octaves. Press and hold [FUNC], and then turn the DATA ENTRY knob to snap parameter values to full octaves. Press and turn the DATA ENTRY knob to snap parameter values to semitones.
PLAY
Play Mode sets the play mode of the sample. It controls how the sample will be played back when it is trigged.
The different modes are:
- REVERSE The sample will be played back in reverse once every time it is trigged.
- REVERSE LOOP The sample will loop continuously in reverse between Loop Position and Length.
How long it will loop for is set with the LEN parameter on the TRIG page. This time is also constrained by the AMP page envelope parameters HLD and DEC.
- FORWARD LOOP The sample starts at the STRT position and will loop continuously between Loop Position and Length. How long it will loop for is set with the LEN parameter on the TRIG page.
This time is also constrained by the AMP page envelope parameters HLD and DEC.
- FORWARD The sample will be played back once every time it is triggered.
SAMP
Sample Select. Here you can browse the list of up to 1016 samples loaded to the project, and assign them to the audio tracks. The first position, OFF, plays no sample. You must load a sample from the +Drive to the project before assigning it to a track. For more information, please see “13.3 ASSIGNING A SAMPLE TO A TRACK FROM THE +DRIVE” on page 69. You can apply parameter locks to the SAMP parameter and change the sample on any step of the sequencer, so called Sample locks. For more information, please see “10.8.1 PARAMETER LOCKS” on page 47.
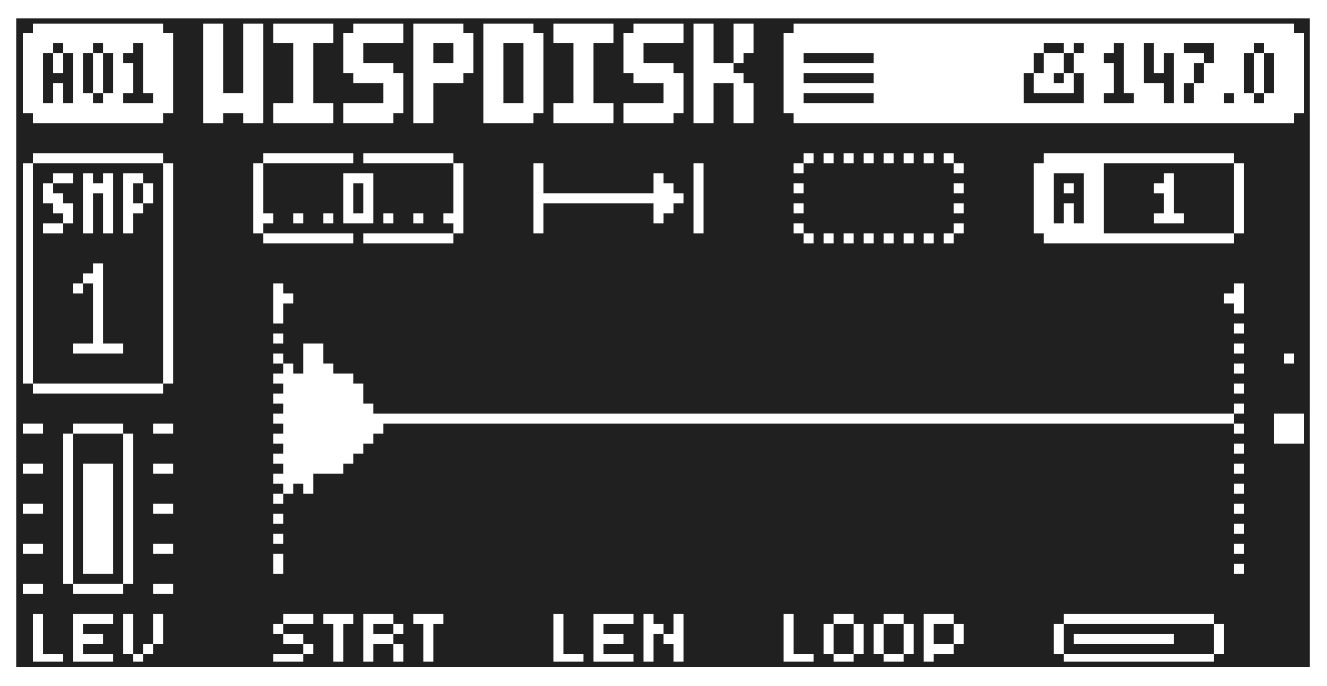
STRT
Start sets the start position for playback of the sample.
LEN
Length sets the length of the playback of the sample. Start + Length effectively defines the end point of the portion of the sample that is played.
LOOP
Loop Pos sets the position in the sample to where playback will return to after reaching the Length Position (defined by STRT + LEN) of the sample if PLAY MODE is set to FORWARD LOOP. The sample is then looped between the end of LEN and LOOP. If PLAY MODE is set to REVERSE LOOP, the sample will start at LEN then move backwards to LOOP and then loop between of LEN and LOOP.
LEV
Sample Level sets the level of the sample.
If you press and hold [SRC], you can see the name of the currently loaded sample.
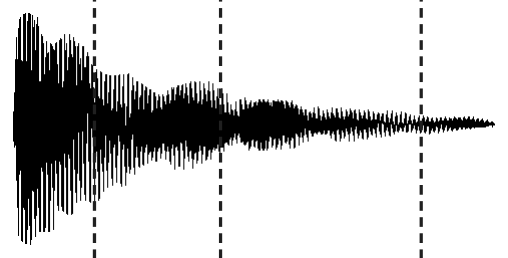
The STRT, LEN, and LOOP parameters.
Start Length Loop Position
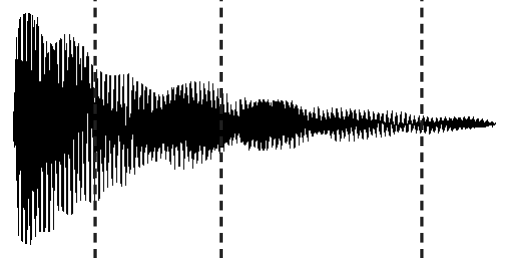
FORWARD LOOP play mode.
Start Length Loop Position Start Length Loop Position Length Start Loop Position
A.2.2 WERP
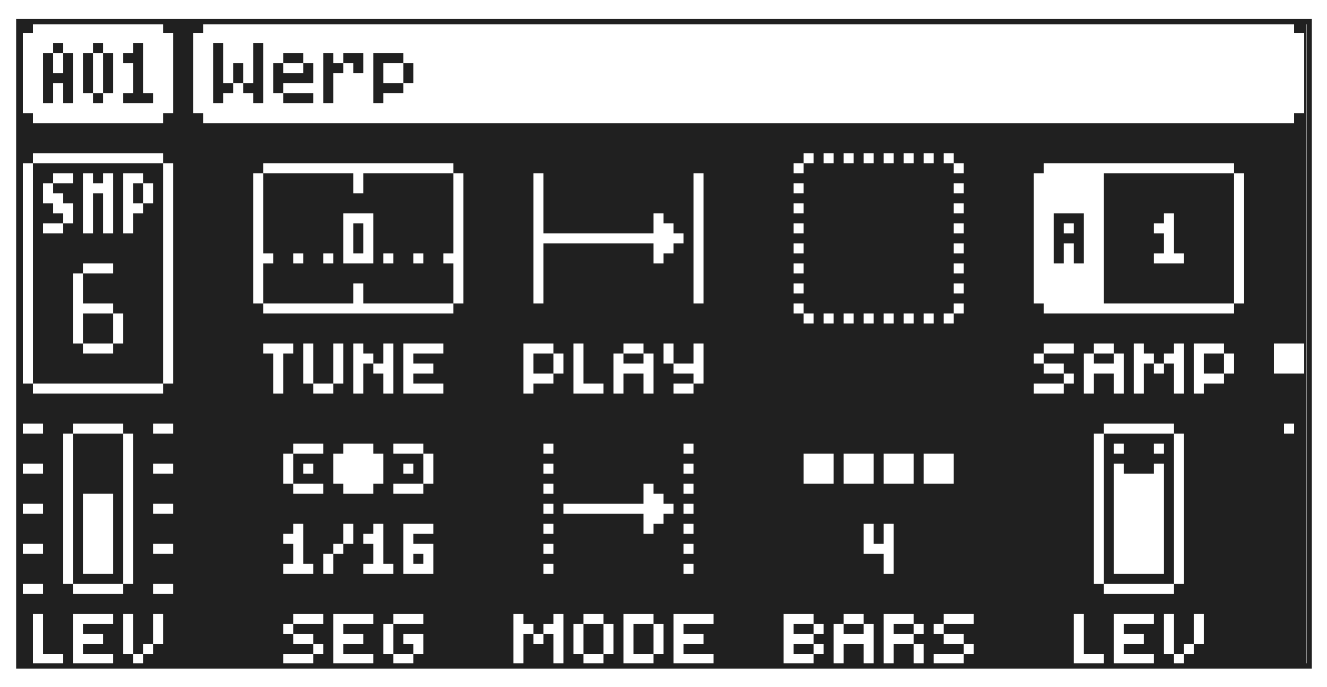
The Werp machine allows samples and loops to automatically stretch to the tempo of your project or pattern. The stretching is achieved through warping the audio. The sample is cut into small time segments and played consecutively aligned to the tempo. Press [SRC] to access this parameter page and to toggle between page 1 and page 2.
TUNE
Tune sets the pitch of the sample. The knob works in a bipolar fashion, and a value of 0 leaves the pitch unchanged. The range is +/- 5 octaves. Press and hold [FUNC], and then turn the DATA ENTRY knob to snap parameter values to full octaves. Press and turn the DATA ENTRY knob to snap parameter values to semitones.
PLAY
Play Mode sets the play mode of the sample. It controls how the sample will be played back when trigged.
The different modes are:
- REVERSE The sample will be played back in reverse once every time it is trigged.
- REVERSE LOOP The sample will loop continuously in reverse between Loop Position and Length.
How long it will loop for is set with the LEN parameter on the TRIG page. This time is also constrained by the AMP page envelope parameters HLD and DEC.
- FORWARD LOOP The sample starts at the STRT position and will loop continuously between Loop Position and Length. How long it will loop for is set with the LEN parameter on the TRIG page.
This time is also constrained by the AMP page envelope parameters HLD and DEC.
- FORWARD The sample will be played back once every time it is trigged.
SAMP
Sample Select. Here you can browse the list of up to 1016 samples loaded to the project, and assign them to the audio tracks. The first position, OFF, plays no sample. You must load a sample from the +Drive to the project before assigning it to a track. For more information, please see “13.3 ASSIGNING A SAMPLE TO A TRACK FROM THE +DRIVE” on page 69. You can apply parameter locks to the SAMP parameter and change the sample on any step of the sequencer, so called Sample locks. For more information, please see “10.8.1 PARAMETER LOCKS” on page 47.
SEG
Segment Size determines the size of the segments, effectively setting the number of segments the sample is cut into. The higher the value, the larger/fewer segments.
MODE
Segment Mode lets you select how each individual segment will be played back.
The different modes are:
- REVERSE Each segment will be played in reverse once.
- REVERSE LOOP Each segment will loop continuously in reverse until the next segment starts to play.
- FORWARD LOOP Each segment will loop continuously forward until the next segment starts to play.
- FORWARD Each segment will be played in forward mode once every time it is triggered.
BARS
Bars sets the total duration of the sample measured in bars and is relative to the set BPM.
LEV
Sample Level sets the level of the sample.
A.2.3 STRETCH
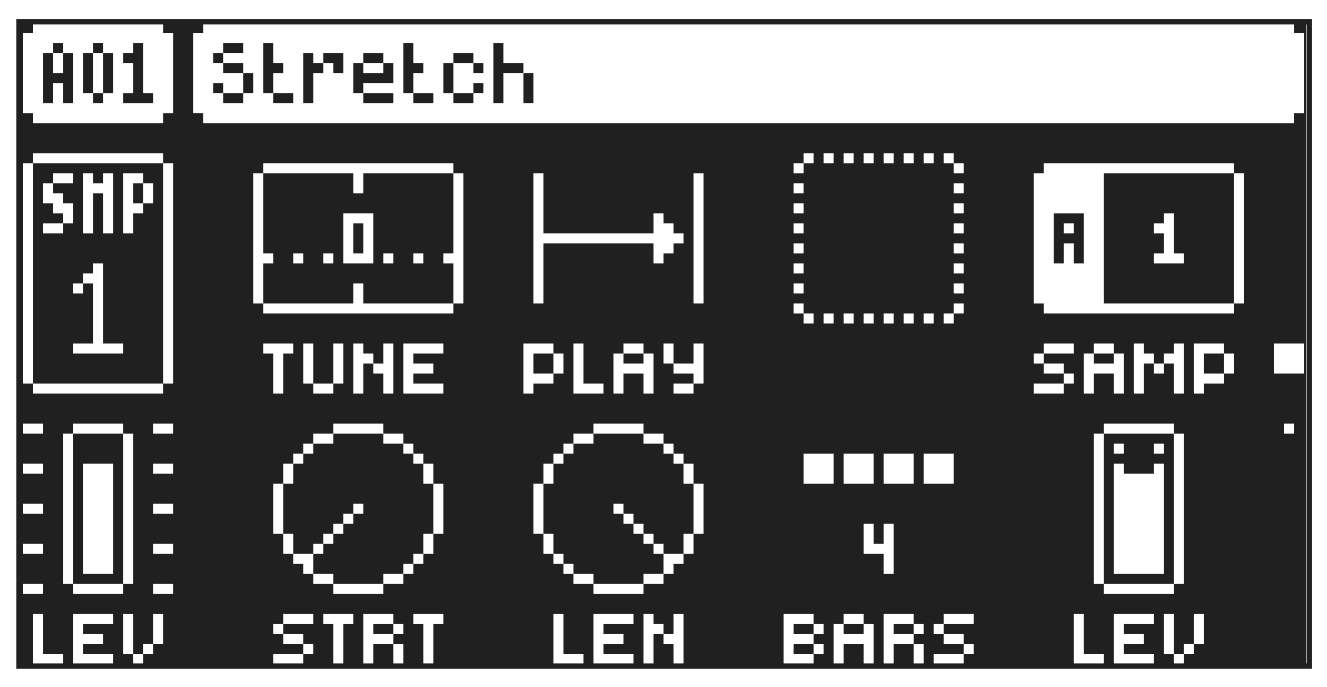
The Stretch machine allows samples and loops to automatically stretch to the tempo of your project or pattern by chopping the audio up into tiny grains and then fading between them.
TUNE
Tune sets the pitch of the sample. The knob works in a bipolar fashion, and a value of 0 leaves the pitch unchanged. The range is +/- 5 octaves. Press and hold [FUNC], and then turn the DATA ENTRY knob to snap parameter values to full octaves. Press and turn the DATA ENTRY knob to snap parameter values to semitones.
PLAY
Play Mode sets the play mode of the sample. It controls how the sample will be played back when it is trigged.
The different modes are:
- REVERSE The sample will be played back in reverse once every time it is trigged.
- REVERSE LOOP The sample will loop continuously in reverse between Loop Position and Length.
How long it will loop for is set with the LEN parameter on the TRIG page. This time is also constrained by the AMP page envelope parameters HLD and DEC.
- FORWARD LOOP The sample starts at the STRT position and will loop continuously between Loop Position and Length. How long it will loop for is set with the LEN parameter on the TRIG page.
This time is also constrained by the AMP page envelope parameters HLD and DEC.
- FORWARD The sample will be played back once every time it is triggered.
SAMP
Sample Select. Here you can browse the list of up to 1016 samples loaded to the project, and assign them to the audio tracks. The first position, OFF, plays no sample. You must load a sample from the +Drive to the project before assigning it to a track. For more information, please see “13.3 ASSIGNING A SAMPLE TO A TRACK FROM THE +DRIVE” on page 69. You can apply parameter locks to the SAMP parameter and change the sample on any step of the sequencer, so called Sample locks. For more information, please see “10.8.1 PARAMETER LOCKS” on page 47.
STRT
Start sets the start position for playback of the sample.
LEN
Length sets the length of the playback of the sample. Start + Length effectively defines the end point of the portion of the sample that is played.
BARS
Bars sets the total duration of the sample measured in bars and is relative to the set BPM.
LEV
Sample Level sets the level of the sample.
A.2.4 REPITCH
The Repitch machine allows samples and loops to be automatically stretched to the tempo of your pattern. It achieves this by automatically applying repitching of the sample to match the target tempo. Press [SRC] to access this parameter page and to toggle between page 1 and page 2.
PLAY
Play Mode sets the play mode of the sample. It controls how the sample will be played back when it is trigged.
The different modes are:
- REVERSE The sample will be played back in reverse once every time it is trigged.
- REVERSE LOOP The sample will loop continuously in reverse between Loop Position and Length.
How long it will loop for is set with the LEN parameter on the TRIG page. This time is also constrained by the AMP page envelope parameters HLD and DEC.
- FORWARD LOOP The sample starts at the STRT position and will loop continuously between Loop Position and Length. How long it will loop for is set with the LEN parameter on the TRIG page.
This time is also constrained by the AMP page envelope parameters HLD and DEC.
- FORWARD The sample will be played back once every time it is triggered.
SAMP
Sample Select. Here you can browse the list of up to 1016 samples loaded to the project, and assign them to the audio tracks. The first position, OFF, plays no sample. You must load a sample from the +Drive to the project before assigning it to a track. For more information, please see “13.3 ASSIGNING A SAMPLE TO A TRACK FROM THE +DRIVE” on page 69. You can apply parameter locks to the SAMP parameter and change the sample on any step of the sequencer, so called Sample locks. For more information, please see “10.8.1 PARAMETER LOCKS” on page 47.
STRT
Start sets the start position for playback of the sample.
LEN
Length sets the length of the playback of the sample. Start + Length effectively defines the end point of the portion of the sample that is played.
BARS
Bars sets the total duration of the sample measured in bars and is relative to the set BPM.
LEV
Sample Level sets the level of the sample.
A.2.5 SLICE
The Slice machine lets you create slices of a sample and by using a slice editor, freely adjust the start, end, and loop slice points for each sample. It can also assign the slices to already placed trigs. Press [SRC] to access this parameter page and to toggle between page 1 and page 2.
TUNE
Tune sets the pitch of the sample. The knob works in a bipolar fashion, and a value of 0 leaves the pitch unchanged. The range is +/- 5 octaves. Press and hold [FUNC], and then turn the DATA ENTRY knob to snap parameter values to full octaves. Press and turn the DATA ENTRY knob to snap parameter values to semitones.
PLAY
Play Mode sets the play mode of the sample. It controls how the sample will be played back when it is trigged.
The different modes are:
- REVERSE The sample will be played back in reverse once every time it is trigged.
- REVERSE LOOP The sample will loop continuously in reverse between Loop Position and Length.
How long it will loop for is set with the LEN parameter on the TRIG page. This time is also constrained by the AMP page envelope parameters HLD and DEC.
- FORWARD LOOP The sample starts at the STRT position and will loop continuously between Loop Position and Length. How long it will loop for is set with the LEN parameter on the TRIG page.
This time is also constrained by the AMP page envelope parameters HLD and DEC.
- FORWARD The sample will be played back once every time it is triggered.
SAMP
Sample Select. Here you can browse the list of up to 1016 samples loaded to the project, and assign them to the audio tracks. The first position, OFF, plays no sample. You must load a sample from the +Drive to the project before assigning it to a track. For more information, please see “13.3 ASSIGNING A SAMPLE TO A TRACK FROM THE +DRIVE” on page 69. You can apply parameter locks to the SAMP parameter and change the sample on any step of the sequencer, so called Sample locks. For more information, please see “10.8.1 PARAMETER LOCKS” on page 47.
SLICE
Slice Select lets you set which slice to play. If set to NOTE you can use the TRIG keys in KEYBOARD mode or incoming MIDI note data to determine which slice to play.
Slices plays from C1 and upwards, wrapping around after the last slice.
LEN
Slice Length sets how many slices that will play consecutively. For example with SLICE set to 2 and LEN set to 3 the sample plays from the start of slice 2 to the end of slice 4.
LEV
Sample Level sets the level of the sample.
THE SLICE MENU
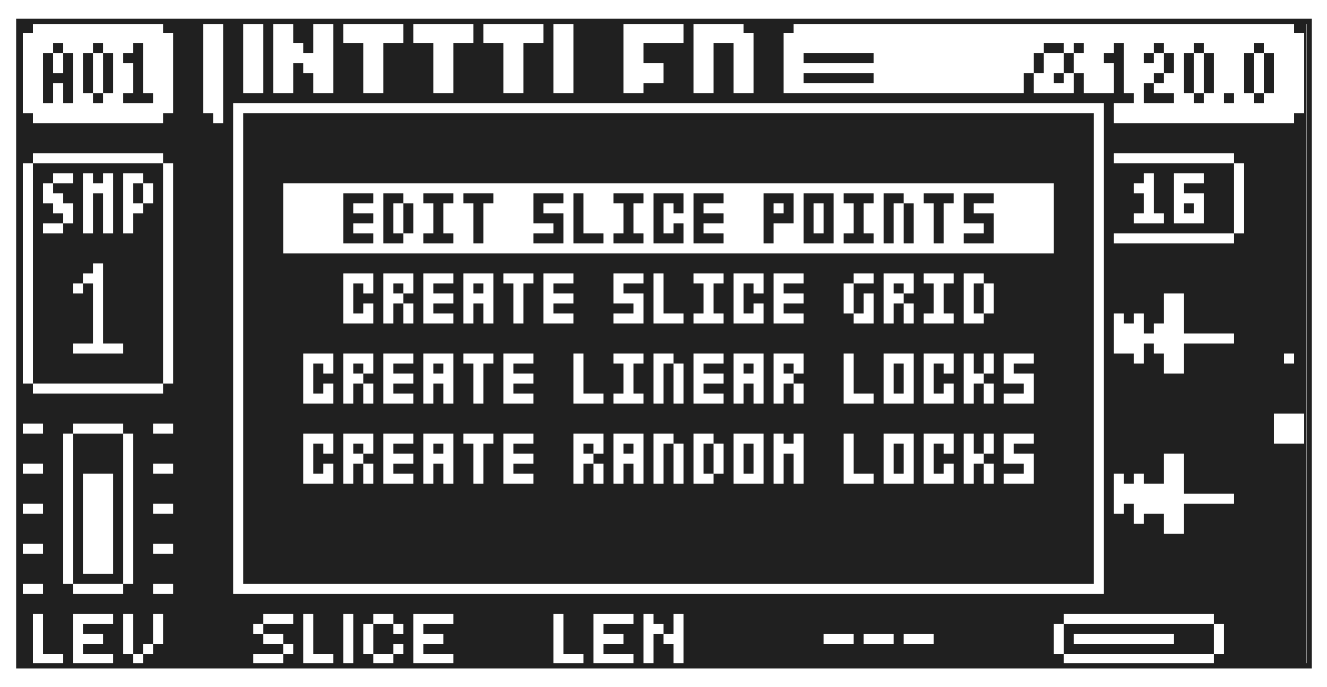
Here, you can, for example, add slices to a sample and edit the start, loop, and end points for each slice. When on a track that has the Slice machine assigned to it, press [SRC] and then press [YES] to open the SLICE menu. Use [UP]/[DOWN] to select an action and then press [YES] to confirm the selected action. Press [NO] to exit the menu.
- EDIT SLICE POINTS opens the slice editor. Read more about the slice editor below.
- CREATE SLICE GRID creates an equally spaced grid over the current sample, where you can define how many slices you want, After pressing [YES] to select this action a popup appear where you can set the slice count and select transient detection.
- Use DATA ENTRY knob E to set the amount of slices that will be created. You can also use [UP]/ [DOWN] to increase/decrease the slice count. [FUNC] + DATA ENTRY knob E snaps the slice count to values 2, 4, 8, 16, 32, and 64.
- Use DATA ENTRY knob H to set if you want to use the automatic transient detection or not.
- Press [YES] to confirm. If you already have applied any slice points to the sample they will be replaced and you need to press [YES] again to confirm this action and go to the slice editor, or press [NO] to cancel and exit the menu.
- CREATE LINEAR LOCKS automatically applies any created slices linearly to already placed note trigs starting from slice one for the first note trig, then going up from there.
- CREATE RANDOM LOCKS automatically applies any slices randomly to already placed note trigs.
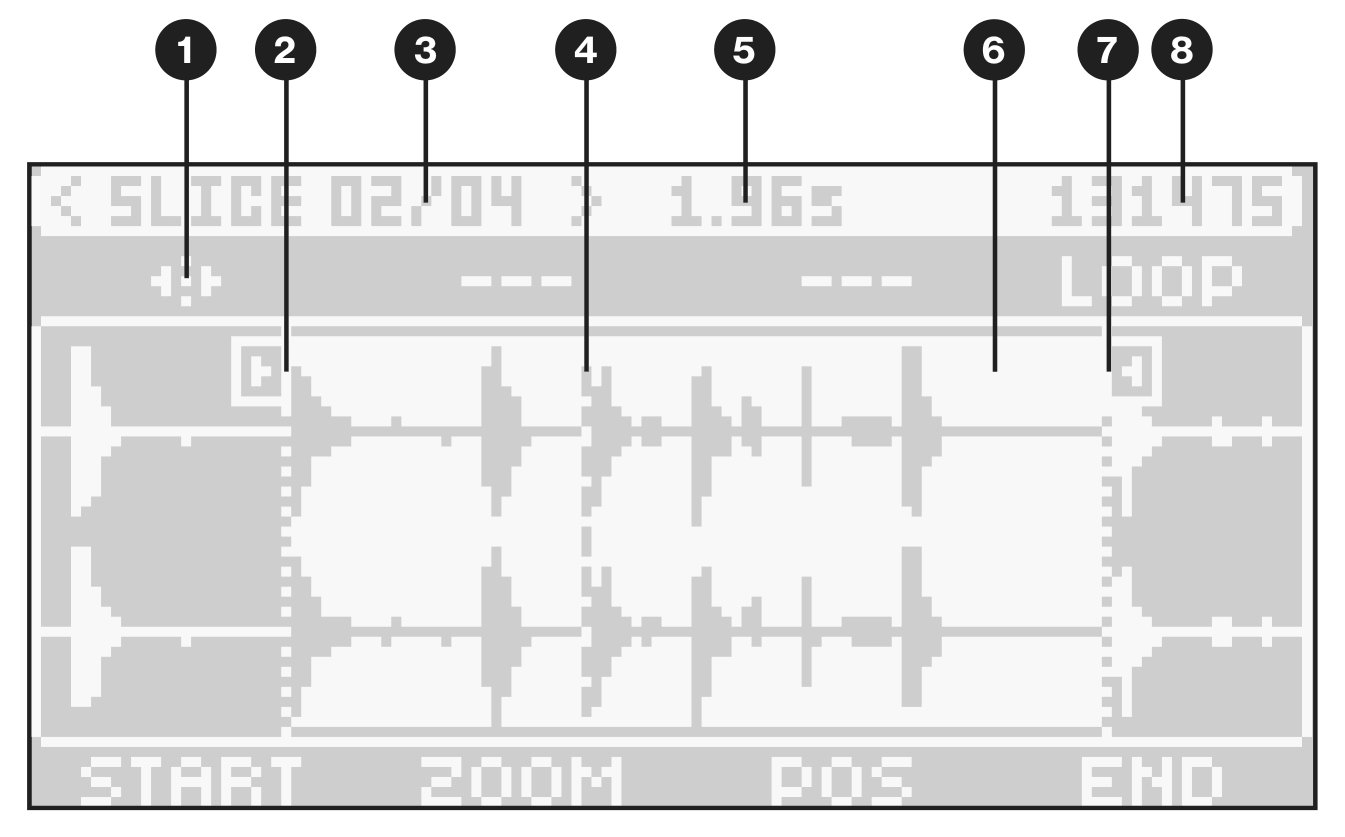
THE SLICE EDITOR
The slice editor lets you adjust the start, end and loop points of each slice. You access the slice editor in the SLICE menu by selecting EDIT SLICE POINTS or selecting CREATE SLICE GRID and after using this functionality to create a slice grid. The slice point information is saved together with the preset. The slice editor screen